DIY Farmhouse Corner Desk
I found some plans online to make a corner desk with a wood plank top. You can find the plans from the rustic barn on this DIY website Handmade Haven. I changed the measurements on the plan to perfectly fit a corner in my living room and I decided that I wanted to do something unique for the top. I will show you how I made it below.
Materials to make a farmhouse corner desk
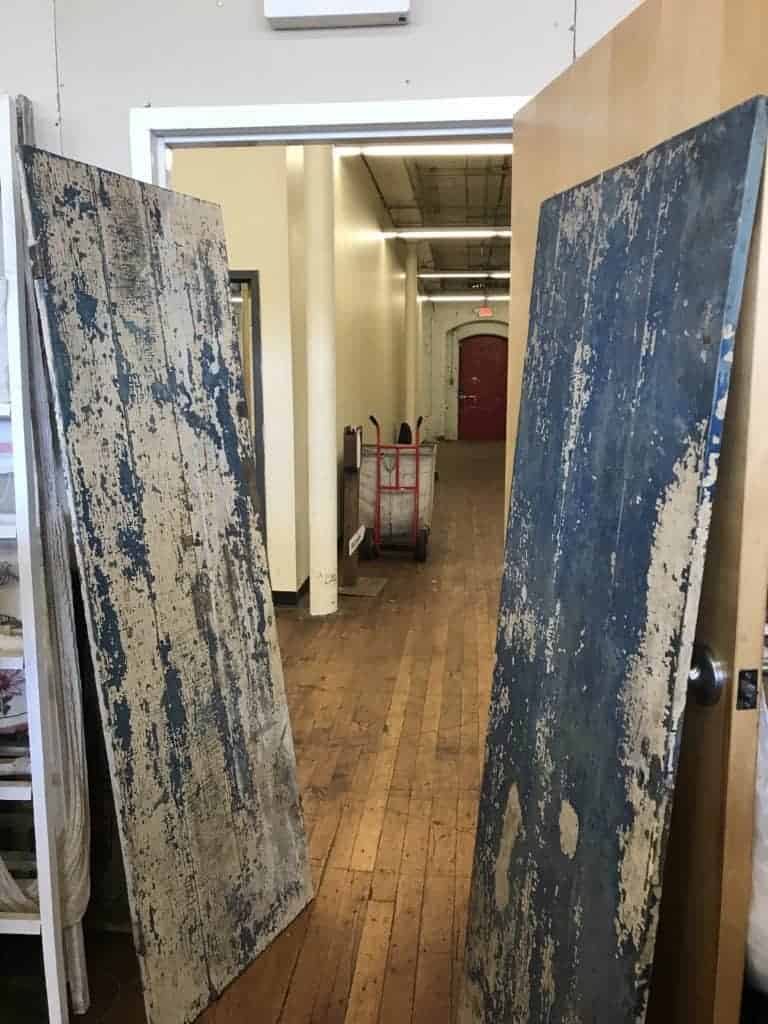
I knew I wanted an antique top instead of using new wood so I found these two antique painted doors at an amazing antique mall in Lawrence, MA called Canal Street Antique Mall. If you live in our area you have to check them out!

Anyway, during a Sunday trip looking specifically for something to use as a top for the corner desk, I was ready to give up. Then there they were. Two of the most beautiful antique doors I have ever seen. Perfect for what I was looking for. My heart was beating out of my chest. Just look at them. Arn’t they georgeous!!

Prepping and finishing the wood doors
When we got home I washed the doors with a 50/50 mix of vinegar and water and let them dry in the sun for a few hours. A lot of the loose paint chips came off during the washing. But anything else that was loose I vacuumed up with the upholstery brush attachment on my vacuum.
Try to get as much loose paint off as you can before you seal it.

Next I used two coats of a satin water based poly to seal in the rest of the paint. I’m going to bet that the paint on the doors were lead based. I really wanted to make sure it was sealed well for this reason. Please be very careful when you purchase anything antique that has pealing paint. Clean up any debris immediately to prevent children or pets from digesting it and seal it well.

The only other thing I had to do was cut one of the doors down to the correct size. My husband did this for me because I am completely petrified of a skill saw. I can use any other tool including a chop saw, or a jig saw, but I just don’t feel in control of the skill saw and feel like I’m going to cut off a limb. Sooo…Thanks Babe.
Build your base before cutting the top pieces and decide if you want to have them meet in a corner on an angle or butt up against each other like I did for my desk. Simply measure each side of your desk and transfer the measurements to the tops and cut. Don’t forget to leave some extra for overhang on the front, back, and two ends.

Building the corner desk base
For the base of the farmhouse corner desk I used 2X4’s and 1X2’s and followed the directions on the plan. FYI…your best friend will be the Jig tool she recommends. It made the job so easy and everything fit together very snug and sturdy. It is by far my new favorite tool and very easy to use. Get the Kreg Jig K4 Pocket Hole System here on Amazon
Update – just a week after finishing this desk I cut two fingers to the bone using the Kerig Jig to make a workbench! UGH! Make sure you clamp the jig to your workbench while using it so it doesn’t slip! And here I was worried about the saw LOL

Now it’s time to paint your desk base. I chose Sherwin Williams Dover White in a semi-gloss finish which is what my interior trim is so it coordinated well. You do not need to paint the top of the base because your desk top will cover it.
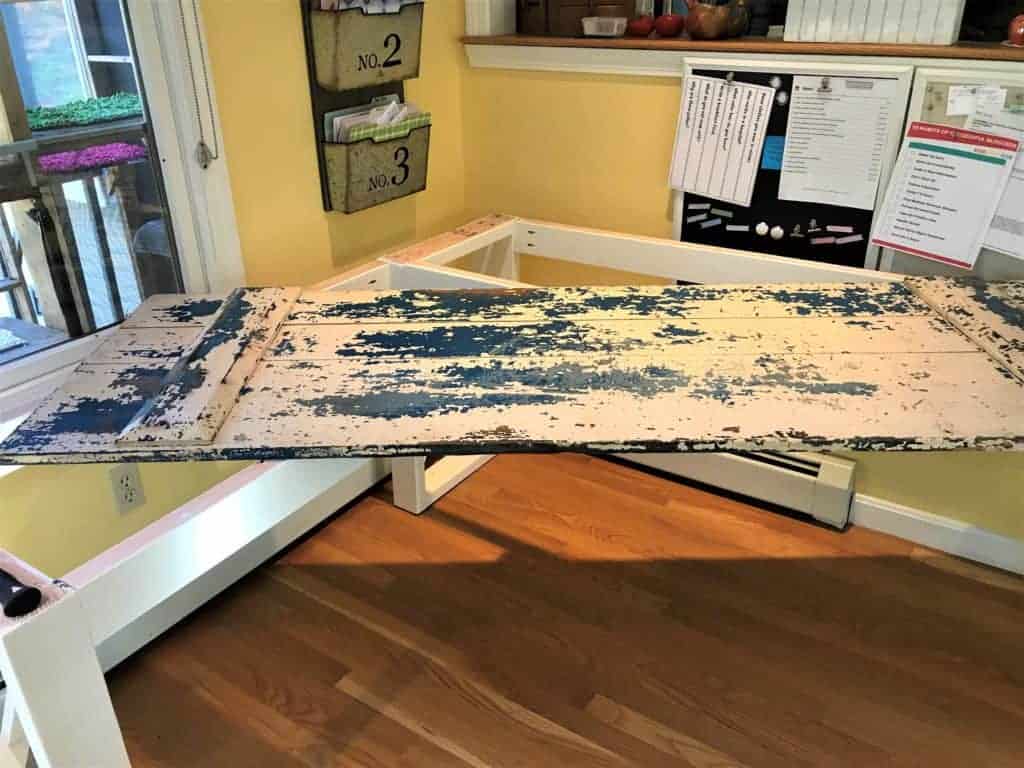
Once the paint is dry simply set the doors on top of the base. You can attach the top to the base if you wish by screwing up thru the bottom into the top but I am leaving mine just resting on top so that I can easily move the desk around if I want. I’m in LOVE!
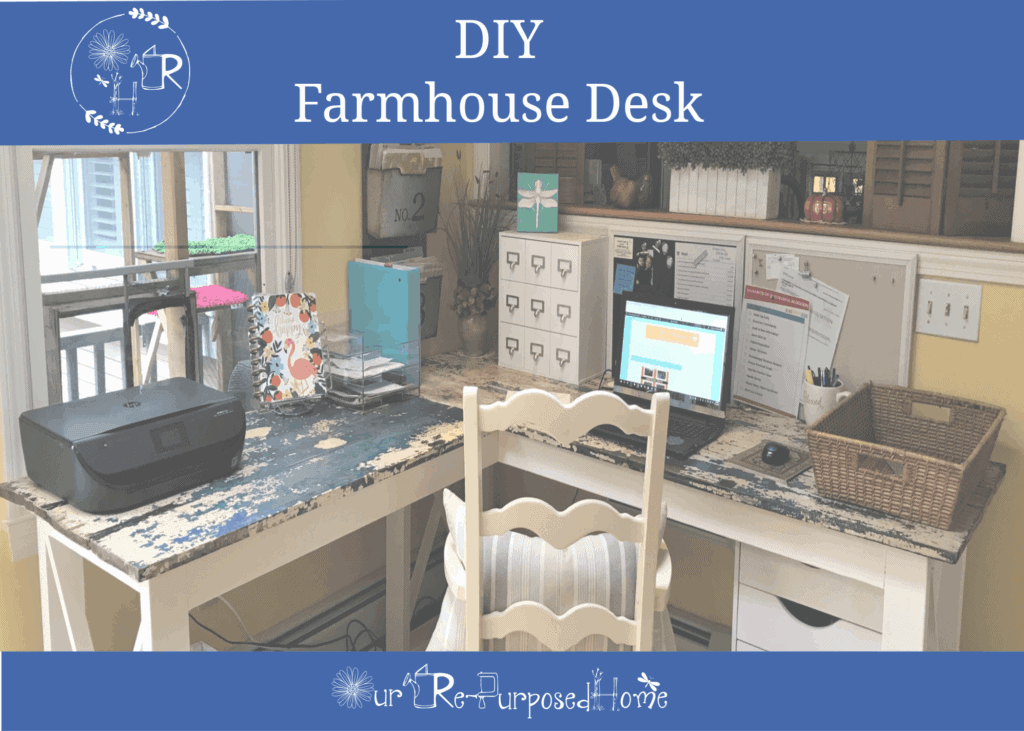
Here’s the completed farmhouse corner desk

FYI I got the white basket at Hobby Lobby and the white drawers at Michaels

That’s it. I have to say I am pretty proud of myself. If you make your own desk I’d love to see the final results. Please share with us in the comments below.
More farmhouse related projects for you…


Wow! You are so clever. It looks great!
Thank you Mary
I want one! Beautiful!
Thank you Eleanor 😊