Painted built-ins before and after
Back in the 90’s we built a living room addition on the back of our 70’s split-level home. The focal point of this room was a 16′ wall of custom painted built-ins. We made it to fit our very large projection screen tv.
Well, fast forward to the 2020’s and it was well overdue for an update. This post will show you our process of designing and building our new painted built-ins. You’ll also see lots of before and after pictures.
The whole idea for this living room update was to add a French door that leads to my back deck. We plan on adding a roof to the deck and screen it in so that we can use it more often. Right now it is in full sun and it’s just too hot to sit out and enjoy it. Don’t get me started on the mosquitos!!! So, soon we will be able to open the double French doors and enjoy the indoor/outdoor living.
The other reason is that I love color. With the popular farmhouse style that I also love, I added a lot of white and it was making my heart sad. I love that style with all it’s light and bright interiors. And I love incorporating the old with the new, but I just needed some color back in my life.
This post may contain affiliate links. If you choose to purchase a recommended product, I may receive a small commission at no additional cost to you. Rest assured that I will not recommend any product that I would not use myself. For our full policies and disclosures click here.
Demolition of the old painted built-ins.
Like I said earlier, we made these built-ins specifically to fit around our large projection tv. So, after we got rid of that we were left with a big hole that we didn’t know what to do with. (see section on the right)
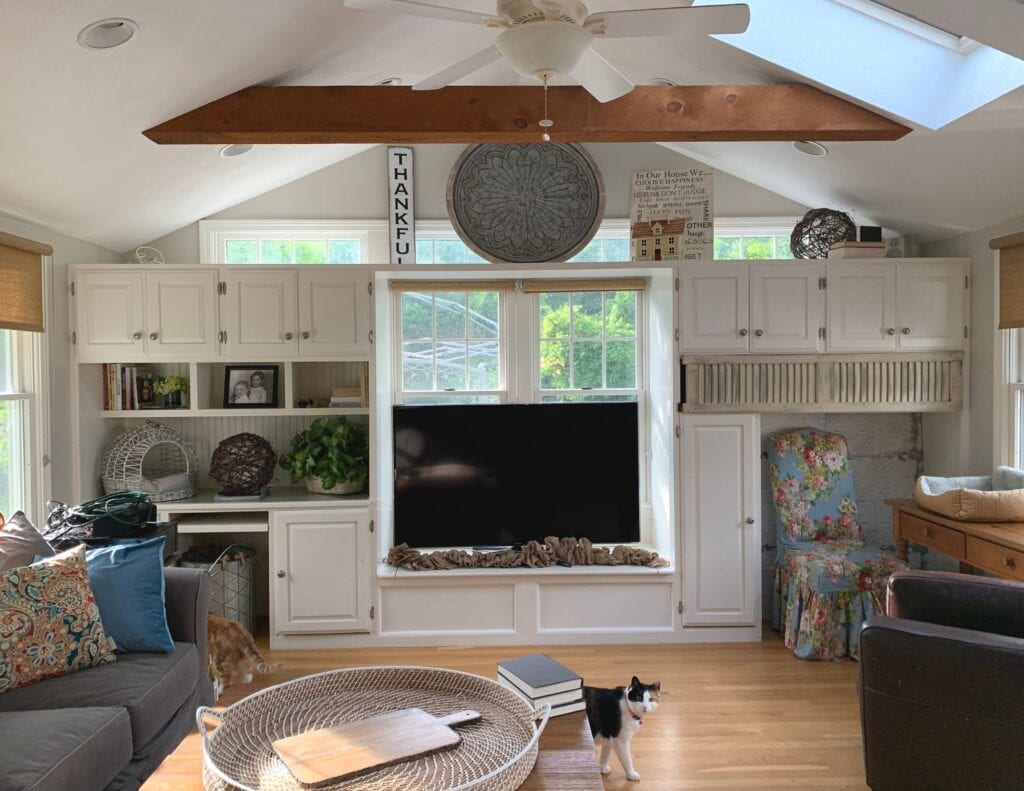
I ended up using a piece of foam board that I covered with “tin-look” peel and stick wallpaper and put it in front of the hole. (not shown in this pic) But it honestly looked horrible and I couldn’t come up with another idea.
Our new tv was sitting on the window seat that we never used. And the desk area on the right was used to hold my guinea pig cage for about 8 years. The closed storage had stuff that I really didn’t need to keep, so even that wasn’t working best for us.
As you can see this was not a good use of the space at all.
The construction phase
We started demo by removing the doors to save them for a future project. Then we removed the rest of the built-ins.
I love doing projects with my husband and granddaughter. I like to teach my granddaughter that just because she’s a girl doesn’t mean she can’t do tough jobs. And as I write this I am reminded that I have been in pain for about 9 weeks now. Note to self…before swinging a sledge hammer, stretch first! LOL


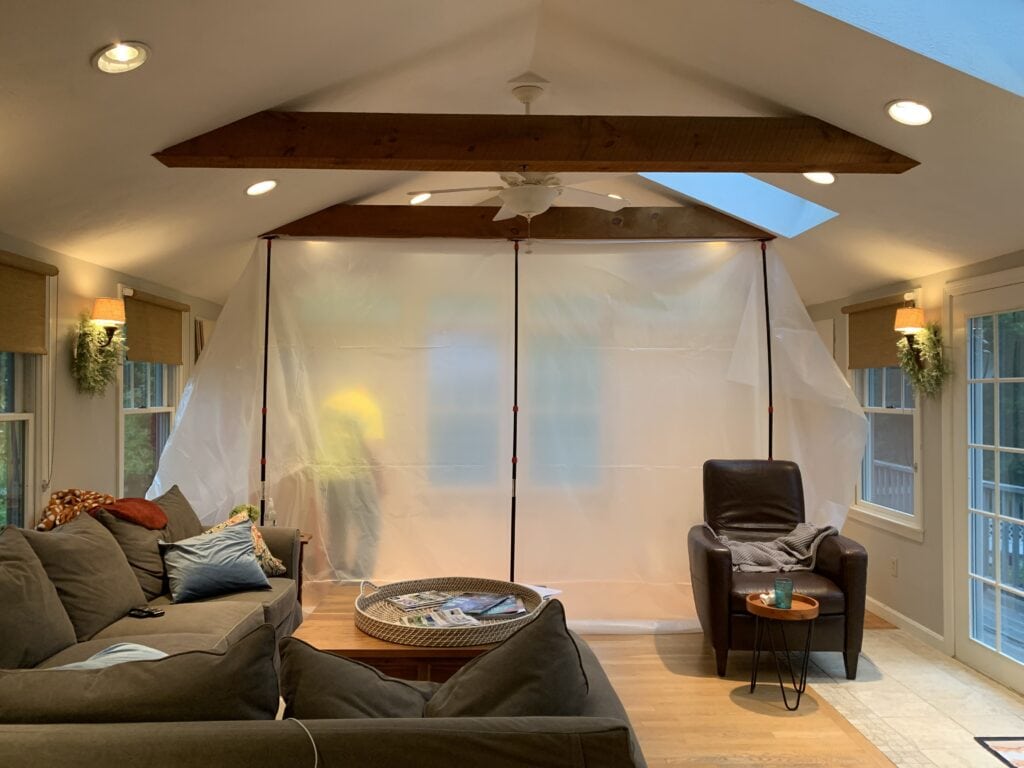
As you may know because of past home improvement projects, things get messy and things take some time to get back to normal. We lived like this for a couple weeks which really seemed to go quick actually.
Once we got everything cleared out it was time for the pros to take over.
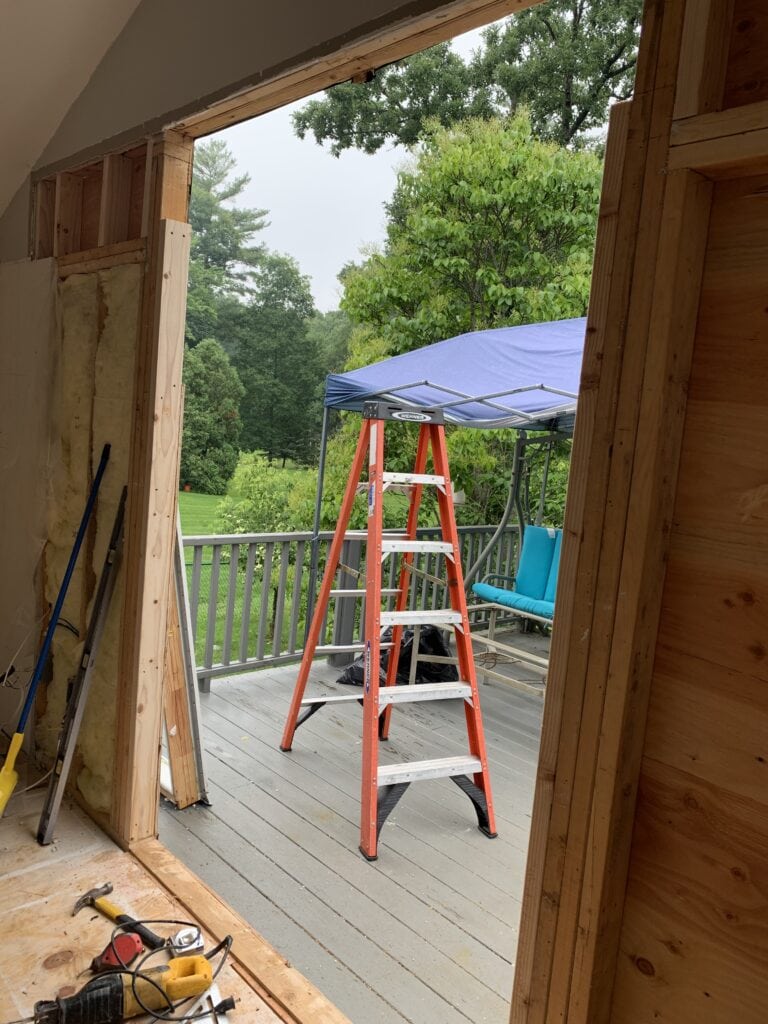
It was really crazy seeing a huge hole in the side of my house! But, the doors went in the same day so it wasn’t so bad.

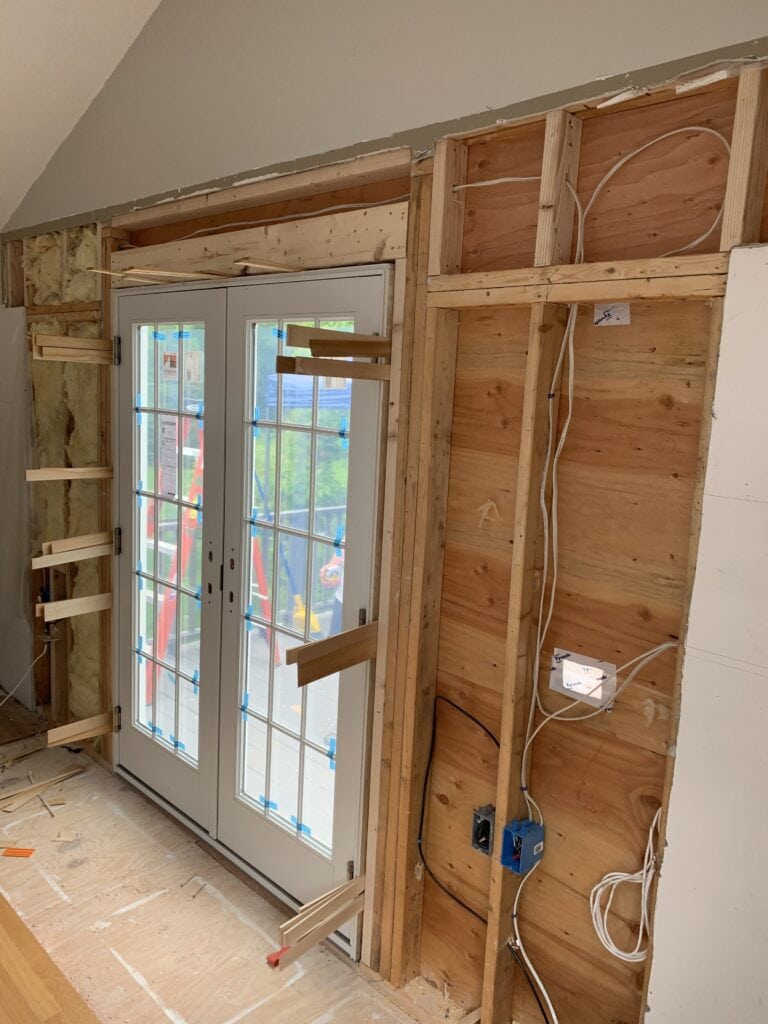
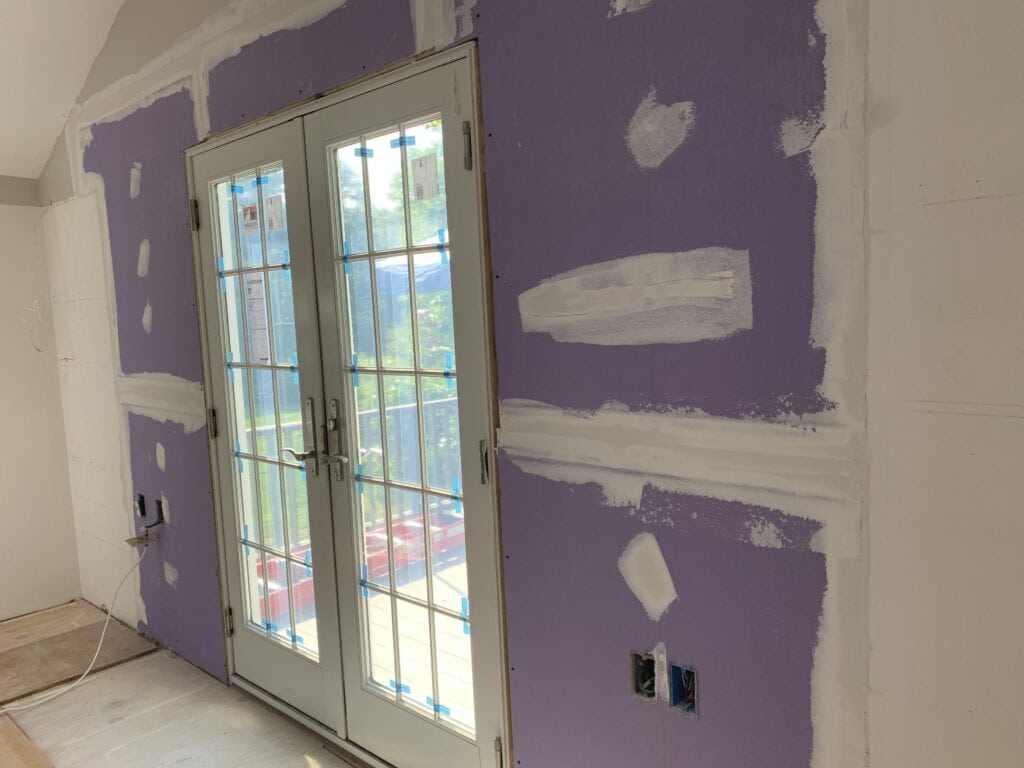
The plan for the new painted built-ins
I needed to rethink the design of the built-ins so that they would work for us and how we live in the room today.
First, I knew that I needed to design a plan around our new center French doors. I wanted to incorporate a balanced design this time as well. Meaning the same design on either side of the doors.
We needed a new place to put the tv. I decided that if I used adjustable shelving I could move things around as needed. I tend to change up my décor a lot. For example, if I move my sectional to the other side of the room, I could move the tv as well. With the adjustable shelves I can move them as I see fit.
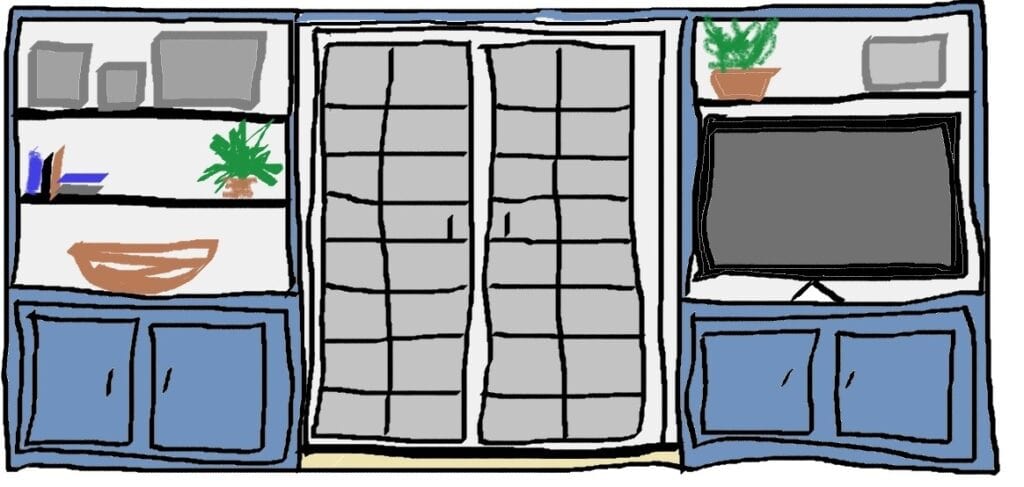
Next, I wanted some areas to display accessories. Before, I had a lot of hidden storage but not a lot of areas for decoration. So the adjustable shelving would be perfect for this as well.
And finally I wanted some hidden storage for our electronics, photo albums, and other misc. stuff. So, I decided on using unfinished stock cabinets from Home Depot to build the base of the built-ins.
My inspiration
Because I wanted to add some color to this room, I decided to use an area rug as the inspiration for the color scheme.
I fell in love with this rug that I purchased at HomeSense. The colors are bright and cheery. And I thought about how I could use those colors throughout the whole year…including holidays. My kitties like it too!

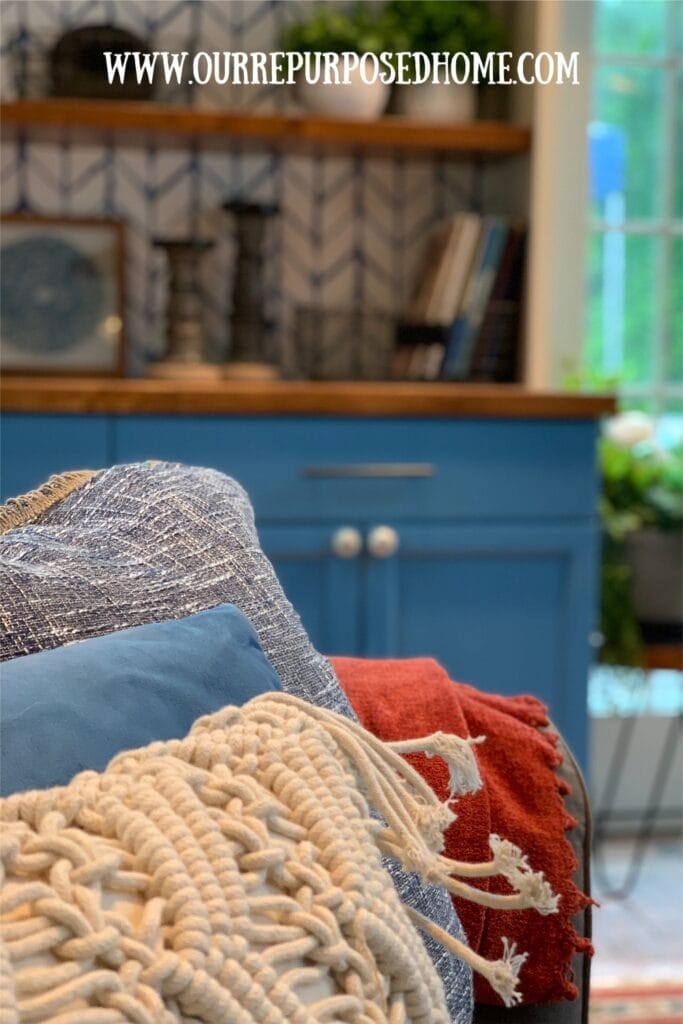
I decided to pull out the blue color from the rug for the lower cabinets. I picked Sherwin Williams Secure Blue in semi-gloss. It’s a bold blue but I really wanted a punch of color.
To tone down the blue I used a med dark stain with finish (Early American) on the butcher block counter top and shelves. I love how much the wood warmed up the room. The thickness of the butcher block really gave me that farmhouse vibe that I do still love.
I was trying to decide if I wanted to paint the upper frame blue, like the bottom. But ultimately decided on the same color white I used for my trim which is Sherwin Williams Dover White. I wanted the shelves to really stand out and I think the blue would have distracted you away from that. Plus it’s a really bold color and I didn’t want too much of a good thing.
Next was the wallpaper. I wanted something on a large scale but I didn’t want it to compete with the rug. I found this wallpaper pattern which looked like painted arrows. It was also bold, but at the same time simple, so as to not compete with the pattern on the rug. I LOVE IT!
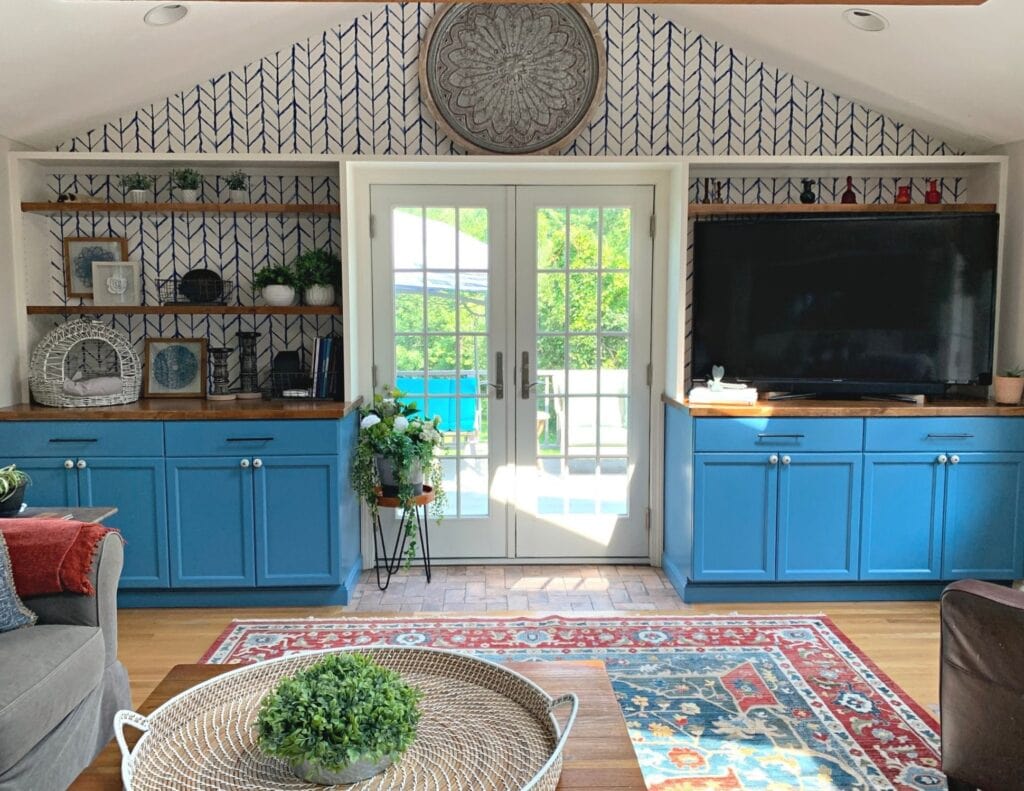
We also replace the old off white flooring tiles that we had in front of the side patio doors with some extra brick tiles we had left over from our entryway project. We had just enough to do that and add more in front of the new patio doors as well. I love how it looks with the wood floors.
Finally, was the decorating part. I found some really cool neutral macramé pillows at HomeGoods. They pulled me more towards a boho look which I also love. I already had some blue pillow covers that happened to be the same color as the built-ins. Then I purchased these really nice blue/gray feather pillows with a pretty twine detail around the edges.
I was having a really hard time trying to marry the gray sofa with the blue and those large pillows worked perfectly to tie the two together.
For window treatments, which I haven’t installed yet, I purchased some floral panels from Amazon. I wasn’t sure that I would like them until they came in. They were even more beautiful than they looked online. You can see them in the right corner of the first before and after photos below. I really can’t believe that I found curtains that had all of the colors in the room. That was luck!

The before and after photos
This was a fun project for me. I feel like I was able to bring out some of my personality in this remodel. I really missed my color… but I’ve got it back now!
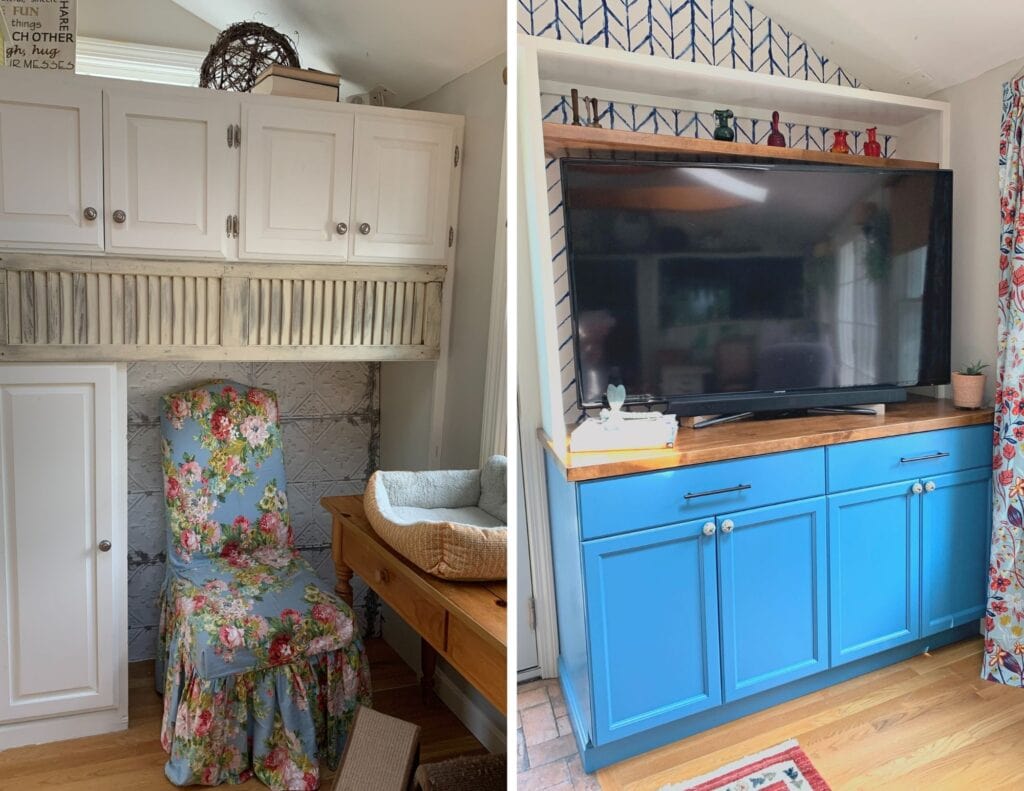

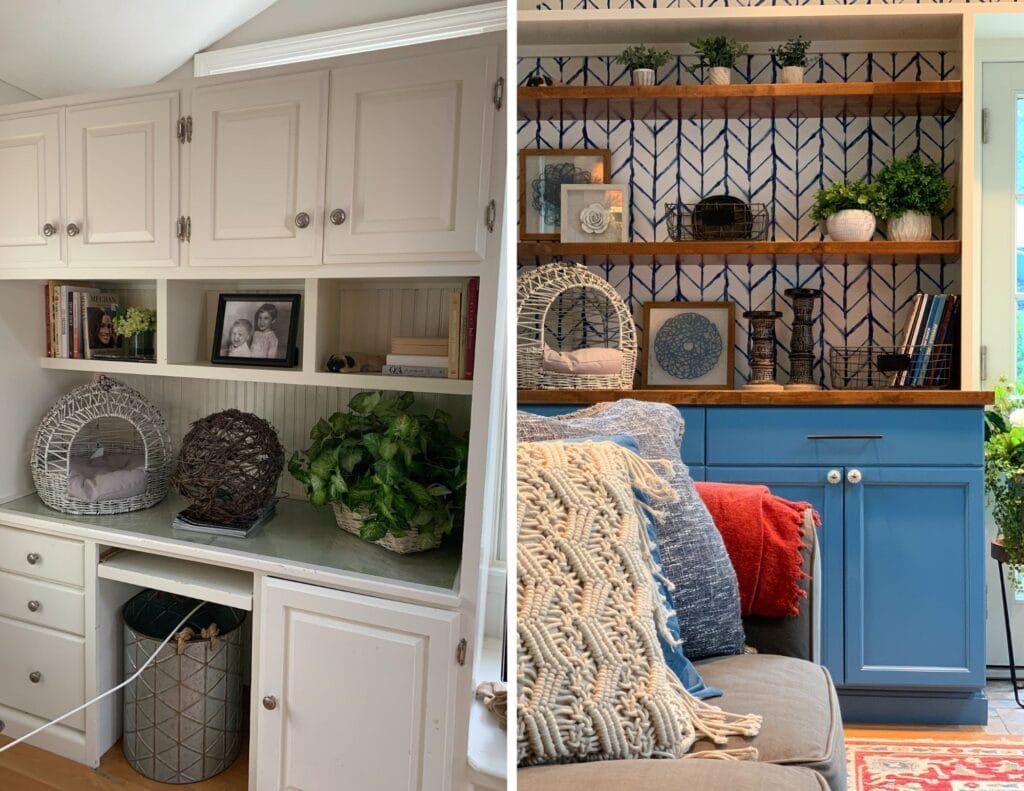
I’m so glad that I decided to bring some color back into my living room. Every time I walk into the room it makes me smile. You can bring some color into your décor too with some painted built-ins. It can literally be a weekend project that can change the whole look of your space.




This looks amazing, Lori! I love it!!
Thank you so much
Hello! First off I wld like to say u do not look old enuf to b a grandma! But the reason I am writing is because I can’t seem to find the after version of your cat addition with the tunnel and beds etc? Am I missing something? Or can u tell me how to find it?
Awe, your sweet! Are you talking about this post? https://www.ourrepurposedhome.com/diy-cat-furniture/ or the catio? https://www.ourrepurposedhome.com/build-a-pvc-catio/ In the future you can always use the search box on the home page to find a particular post. In this case just put “cats” and all the posts about cats will show up for you! 🙂
Oh la la, oh I like it very much! Great and beautiful work on your fantastic room!
Thank you Lynn ❤️