Halloween Camping Ideas…Wizard Of Oz theme
Welcome to more great Halloween camping ideas! We had another great Halloween this year at our seasonal campground Pemi River Campground. So much fun! We also had a lot more participation from other campers decorating their sites, which made the event the best so far!
Every year we have an entire day of Halloween themed activities. We start with a kid’s craft, a costume parade, a site decorating contest, and trick or treat. This year we also added a hayride which the kids loved.
Read on to get a peek at the days events including a whole section about how we decorated our site with a “Wizard of Oz” theme.
Disclosure: I am an amazon affiliate and may earn a small commission from any purchase you make thru these links at no additional cost to you. Rest assured that I will not recommend any product that I would not use myself.
Halloween Camping Ideas – Craft time
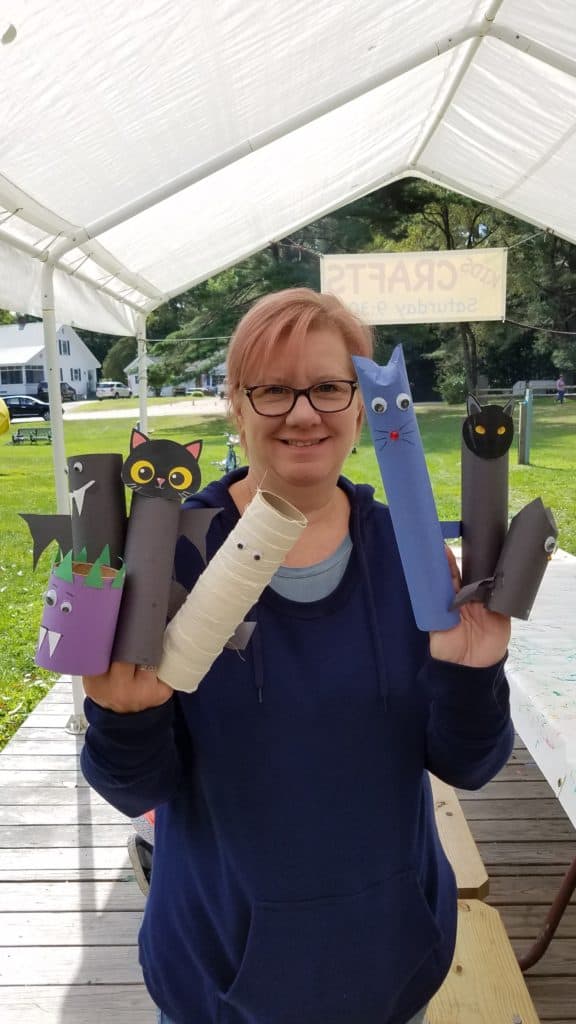
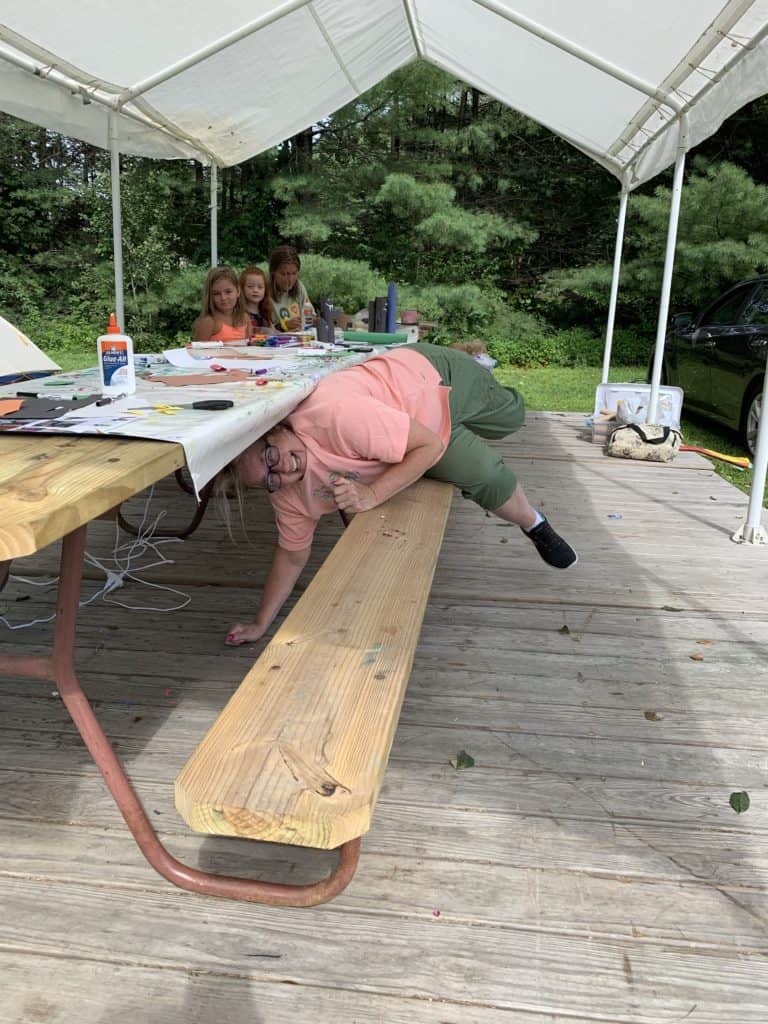
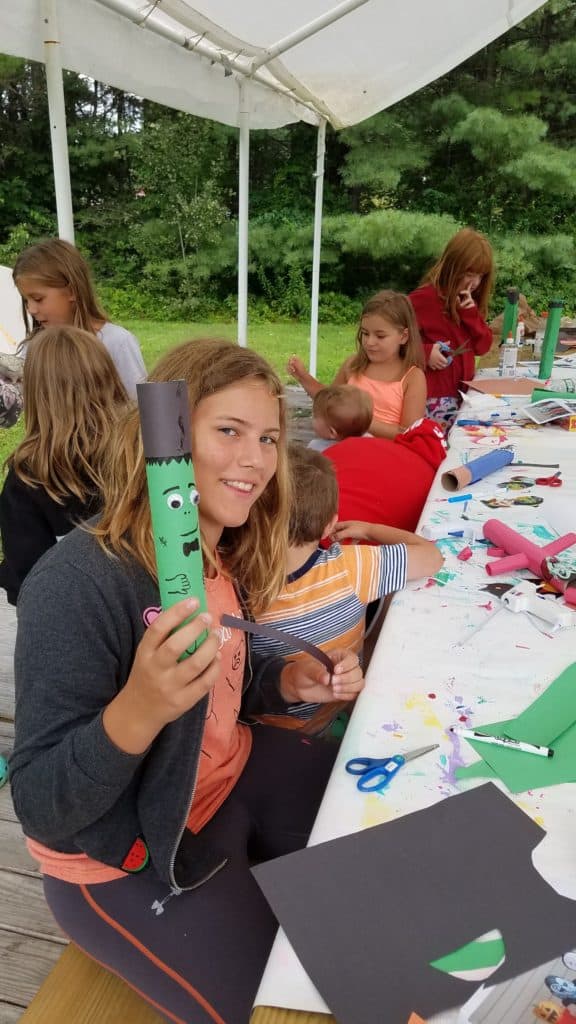
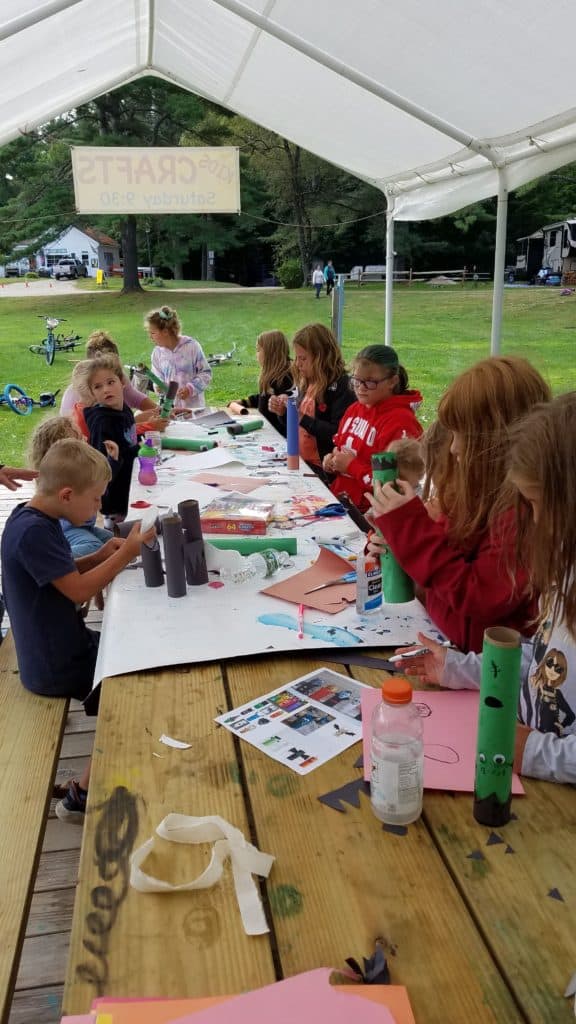
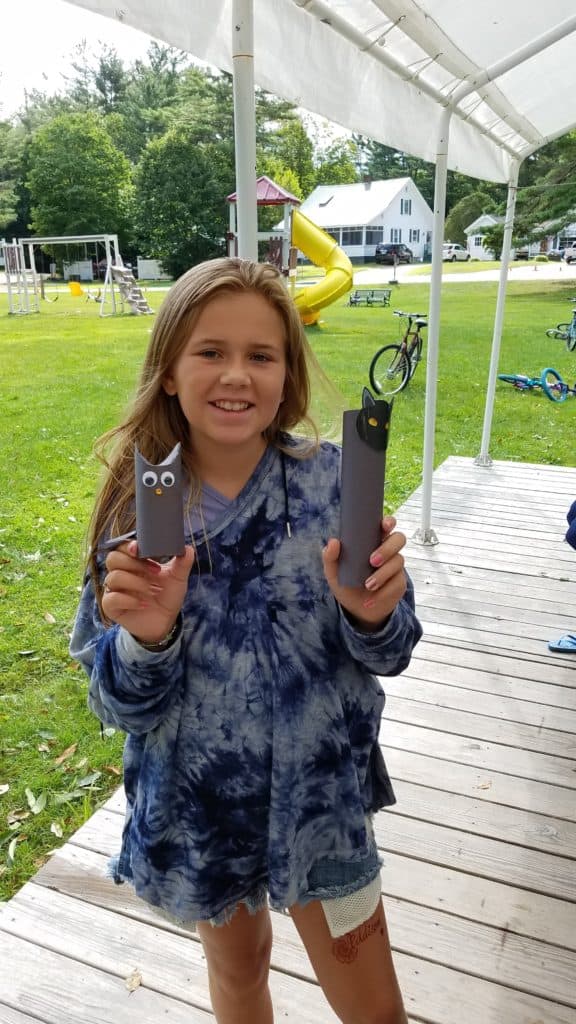
This year, the day started out with a Halloween craft with Dolly. The kids made Halloween characters out of toilet paper rolls. They are all so creative. 🙂



Halloween Camping Ideas- Hayride
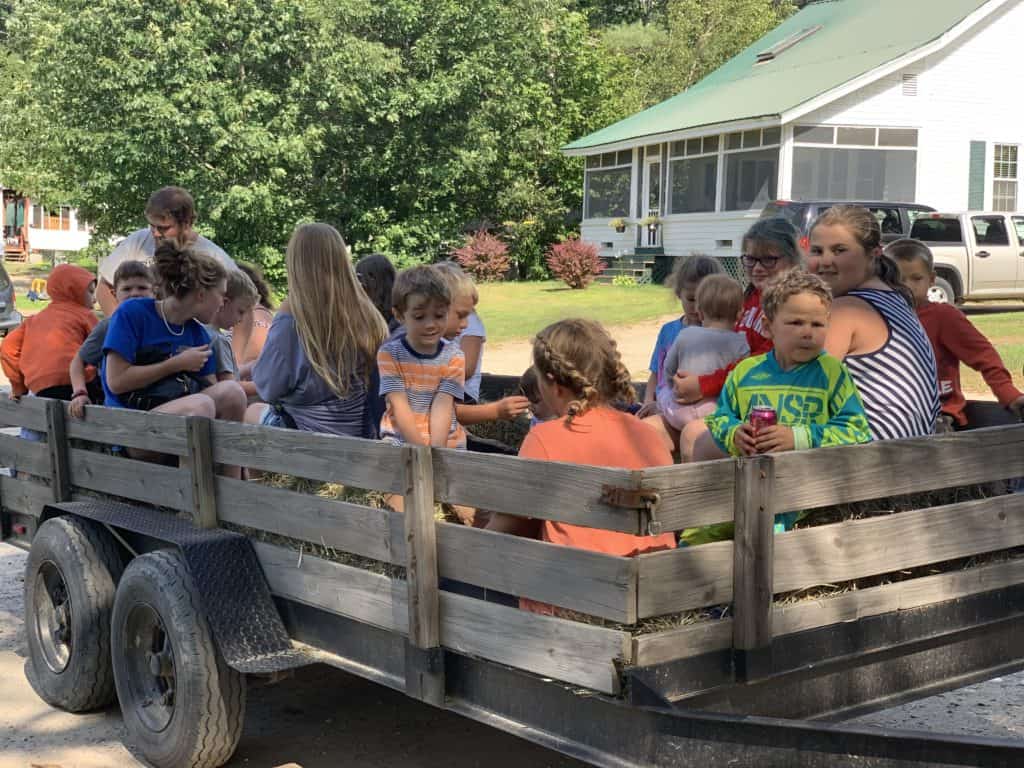
What makes more great Halloween camping ideas? A hayride, which was a first for our campground. Every great Halloween celebration needs a hayride! The kids loved it! Rumor has it there will be more of them in the future. Yeah!


Halloween Camping Ideas- Costume Parade
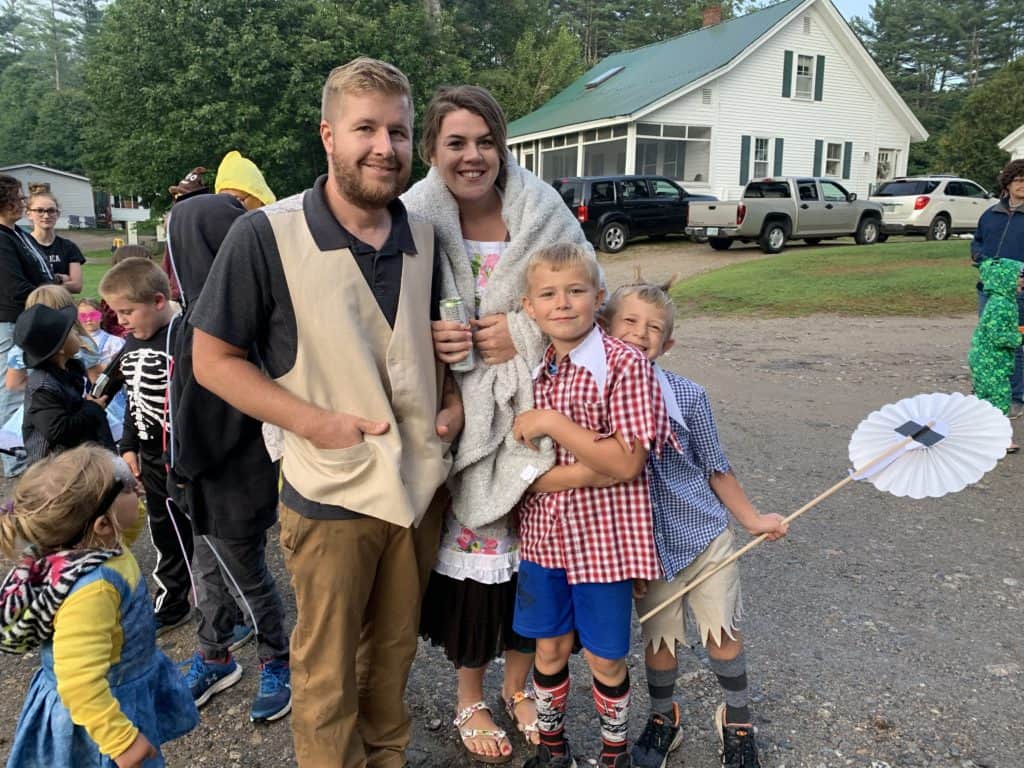
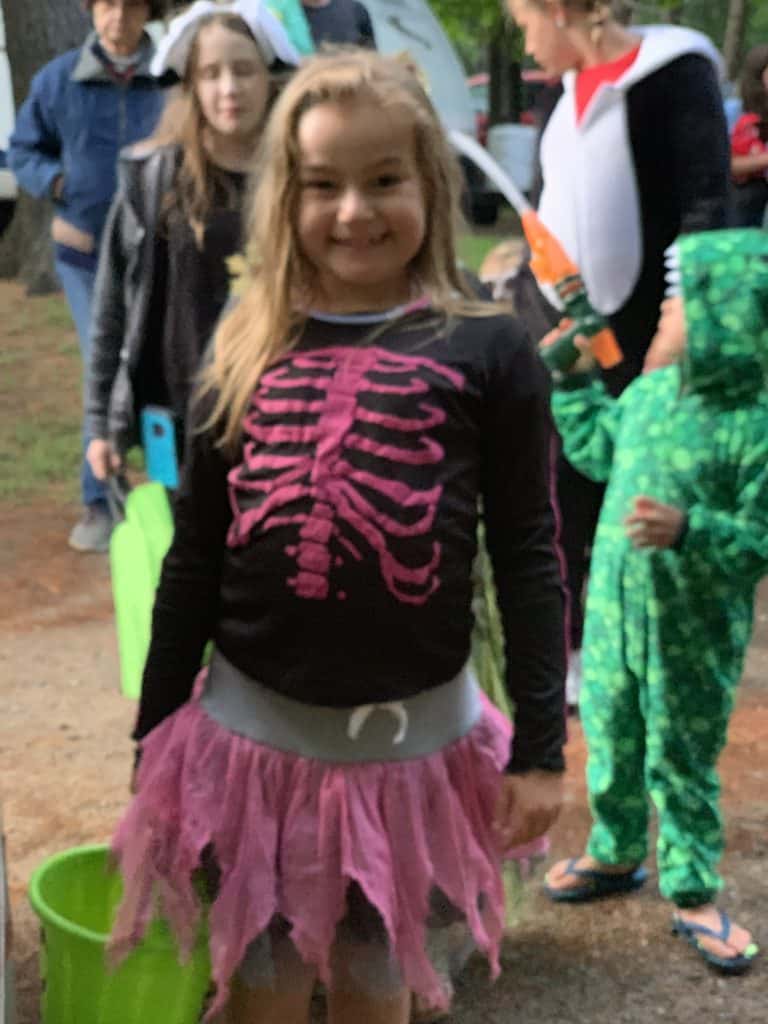
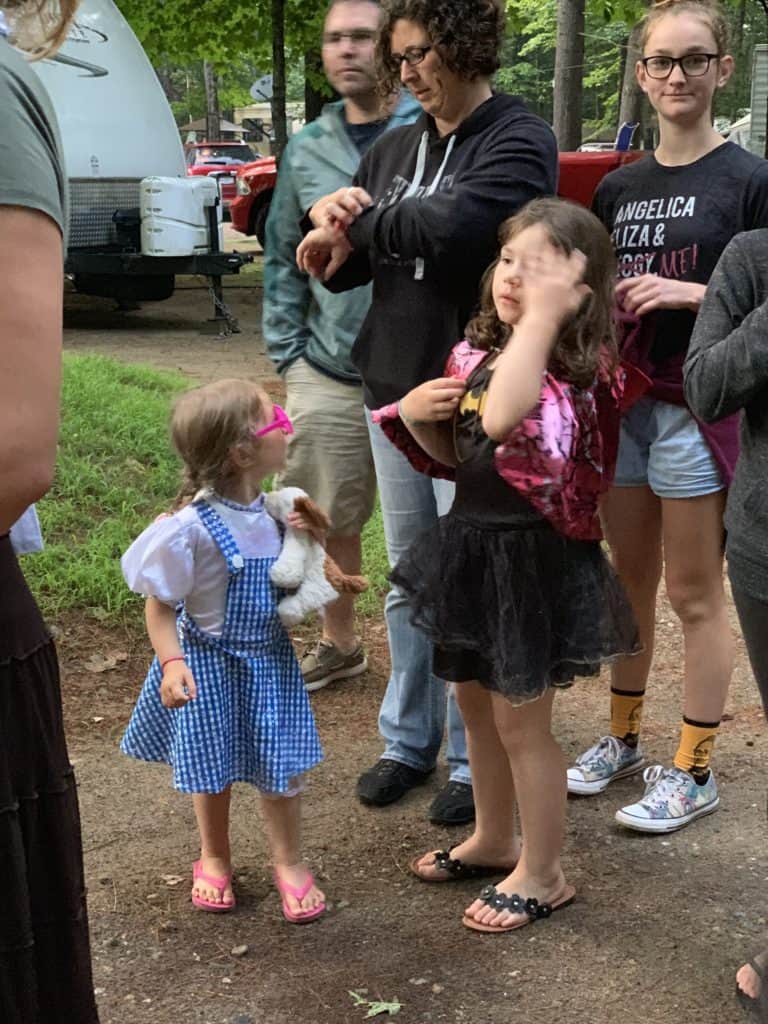
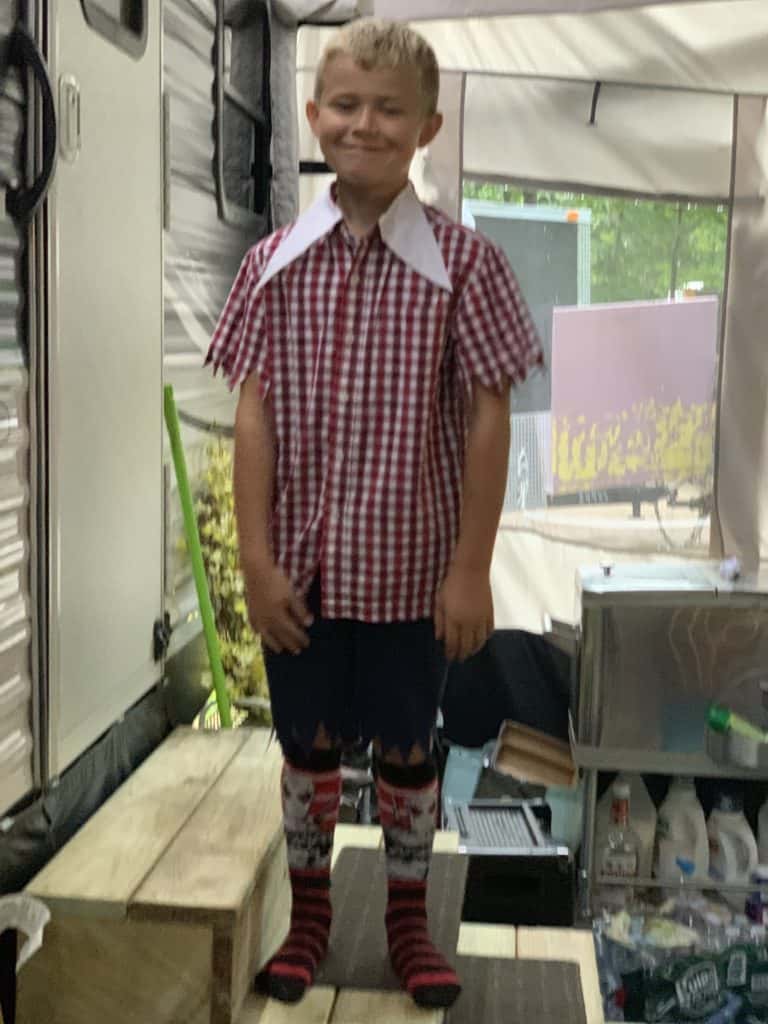
Then it was time for our Halloween costume parade. This is where all the kids get into their Halloween costumes and parade around the campground for all to see. Both the kids and the adults love this one.


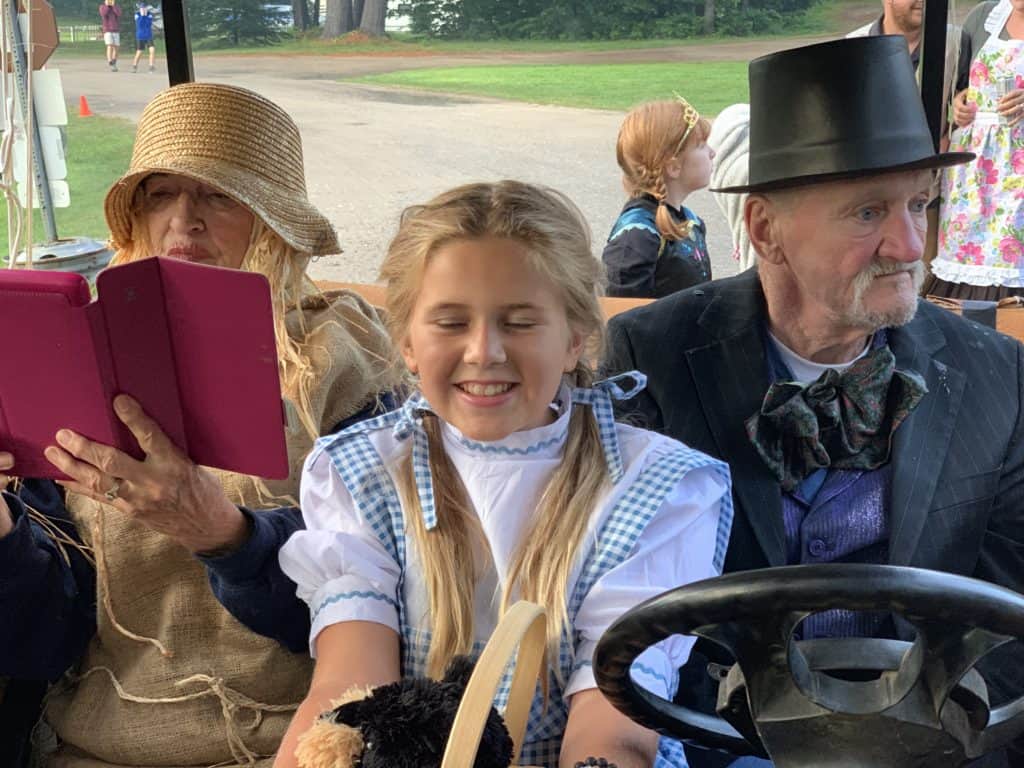
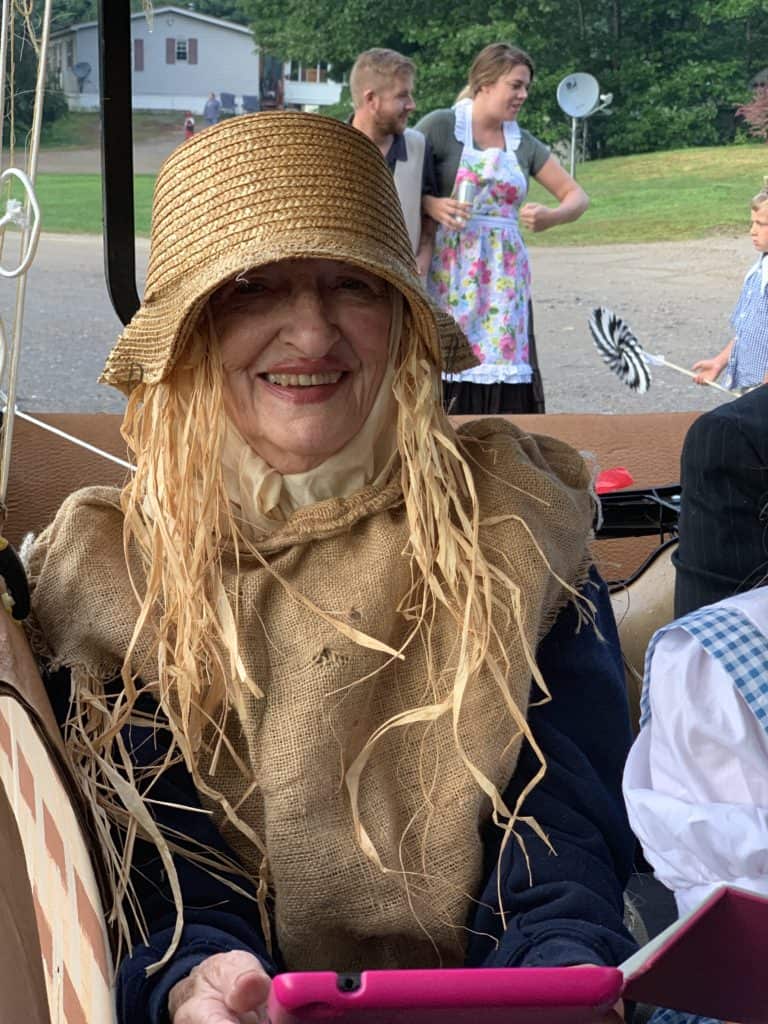
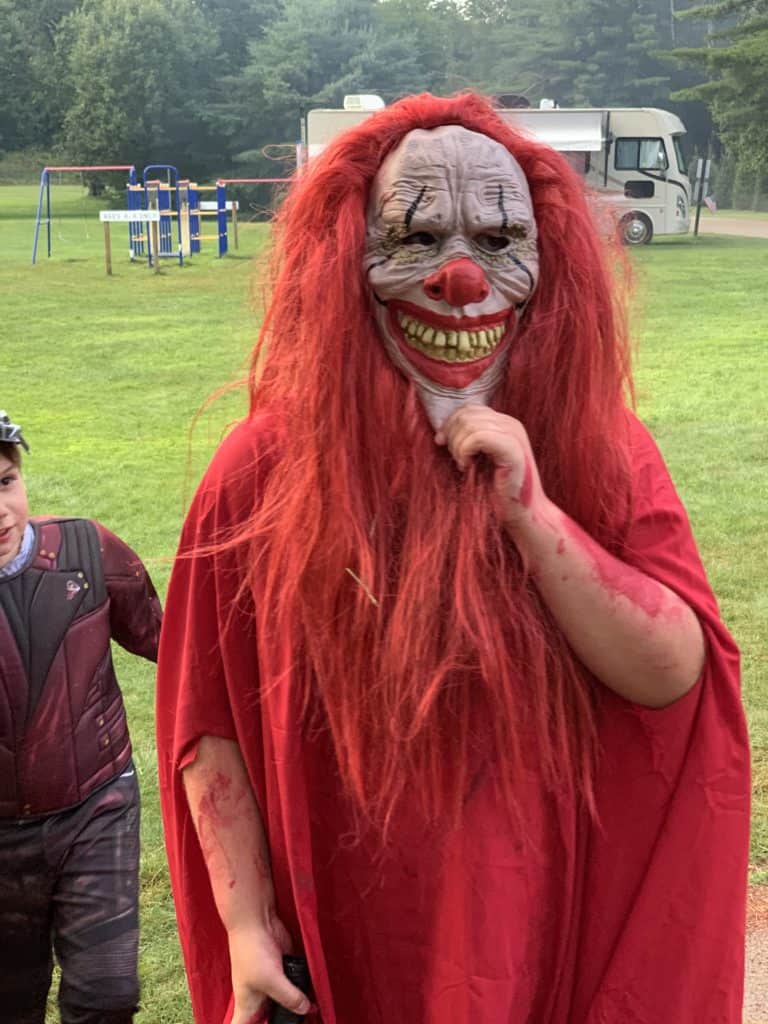


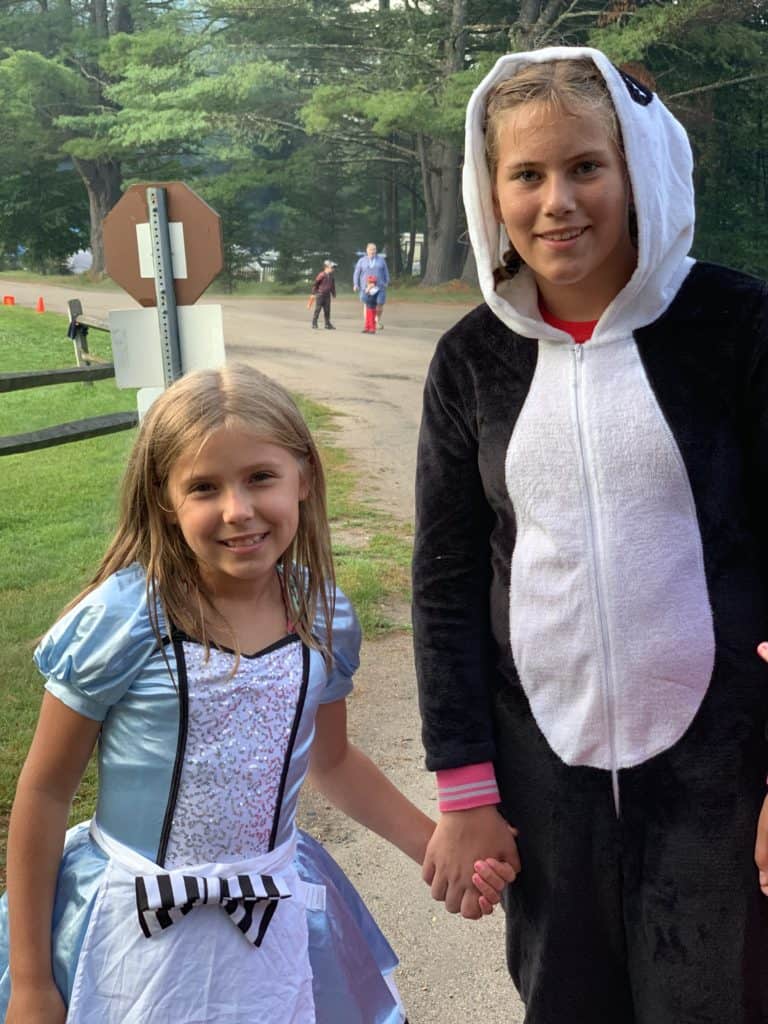

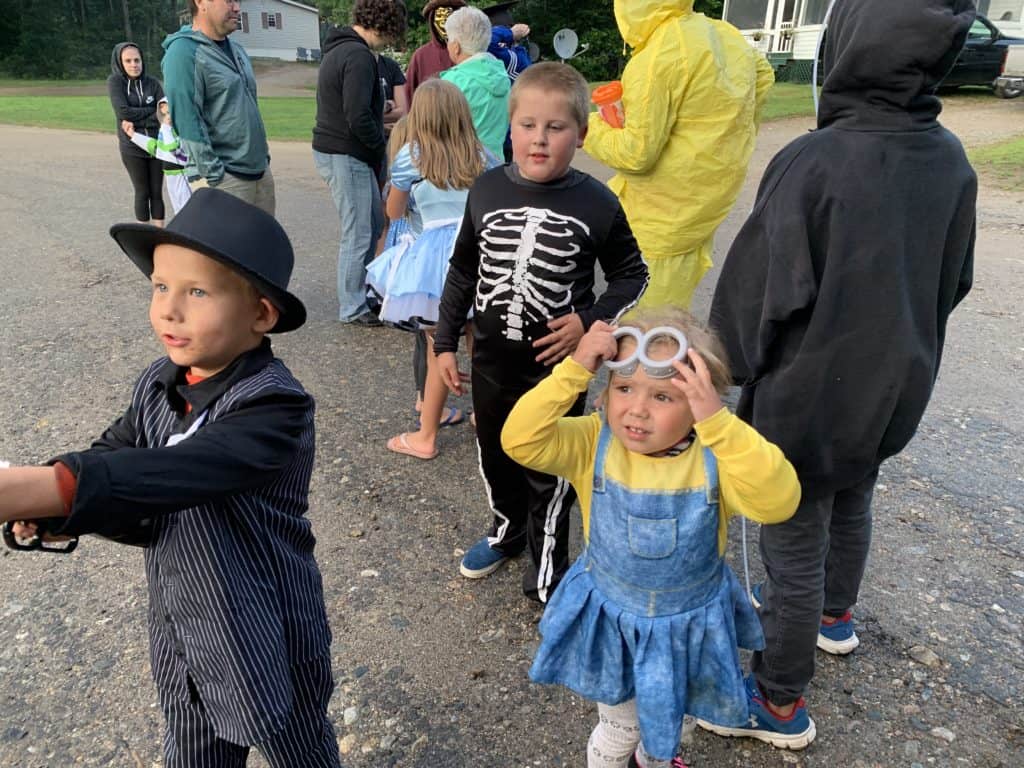
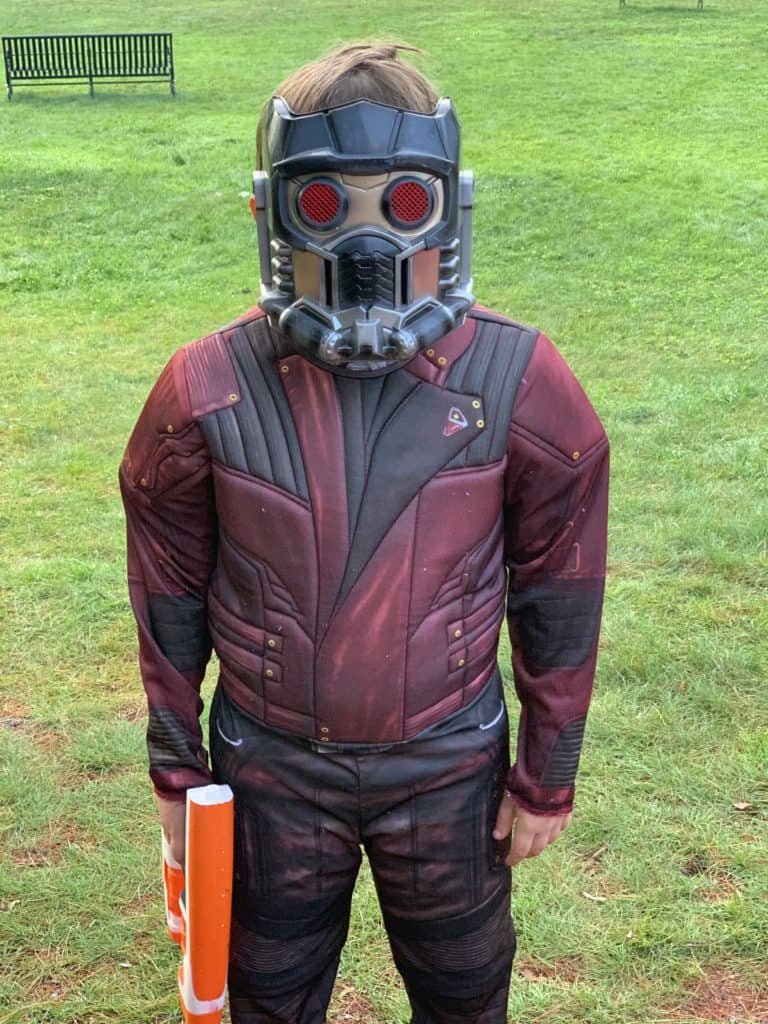





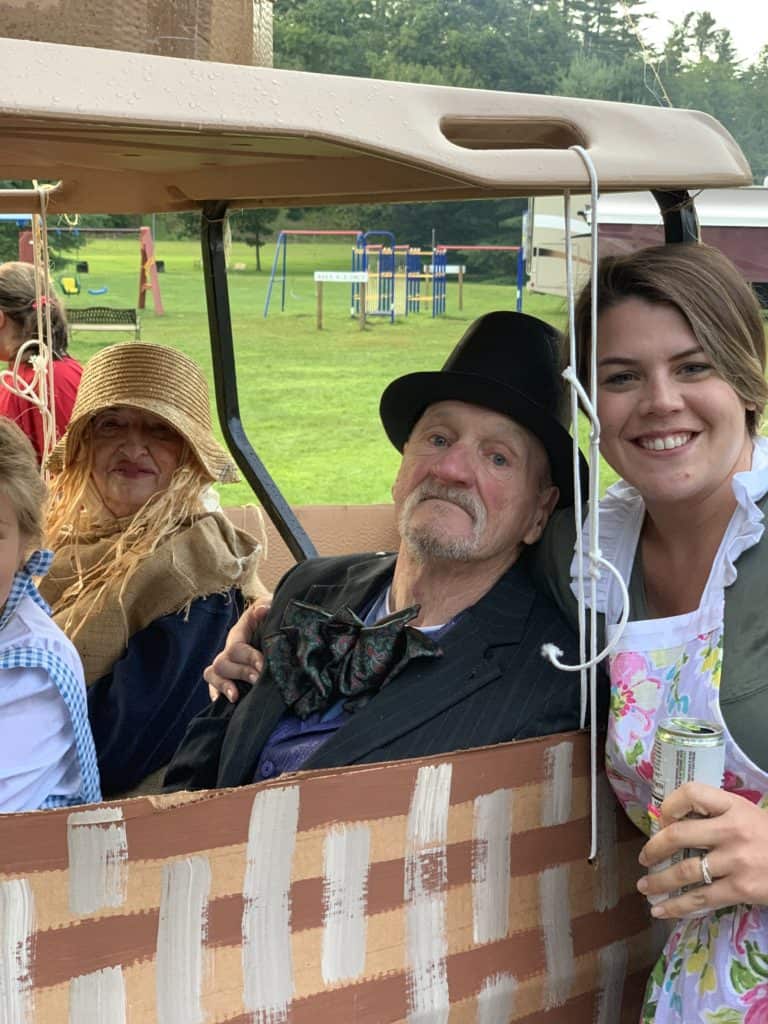
The Funniest part of the parade is we decorate the security guard’s golf cart and put him in costume then he leads the parade. Every year he fights us about doing it… right up until it’s time to take his cart. Then we can’t get him out of his costume for the rest of the night! LOL Love you Don 😉


Halloween camping ideas – Trick-or-Treat and Site Decorating
Finally it is time for Halloween camping trick or treat and the site decorating contest for our Halloween camping event. This is by far the most popular and one of the best Halloween camping ideas ever! I even heard that people have been calling the campground and requesting reservations for the this particular weekend. 🙂
Our theme this year was Wizard of Oz. We literally re-created the movie from start to finish. If you’d like to see more great Halloween camping ideas from the past check out last years “Pirate Halloween” and our Christmas in July decorating.
Dorothy’s farm
As you enter our site we decorated the front of the camper with a 6′ windmill. We brought a 7′ industrial fan (to reenact the tornado) and I made a 6′ tornado with parts of a farm including animals.
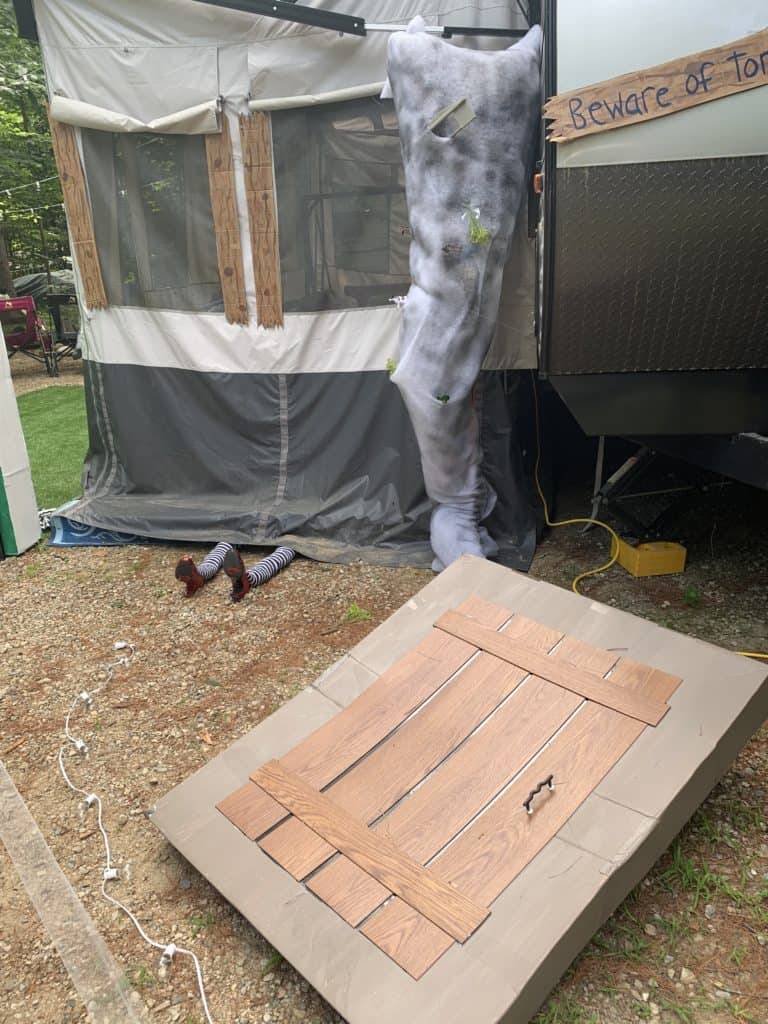
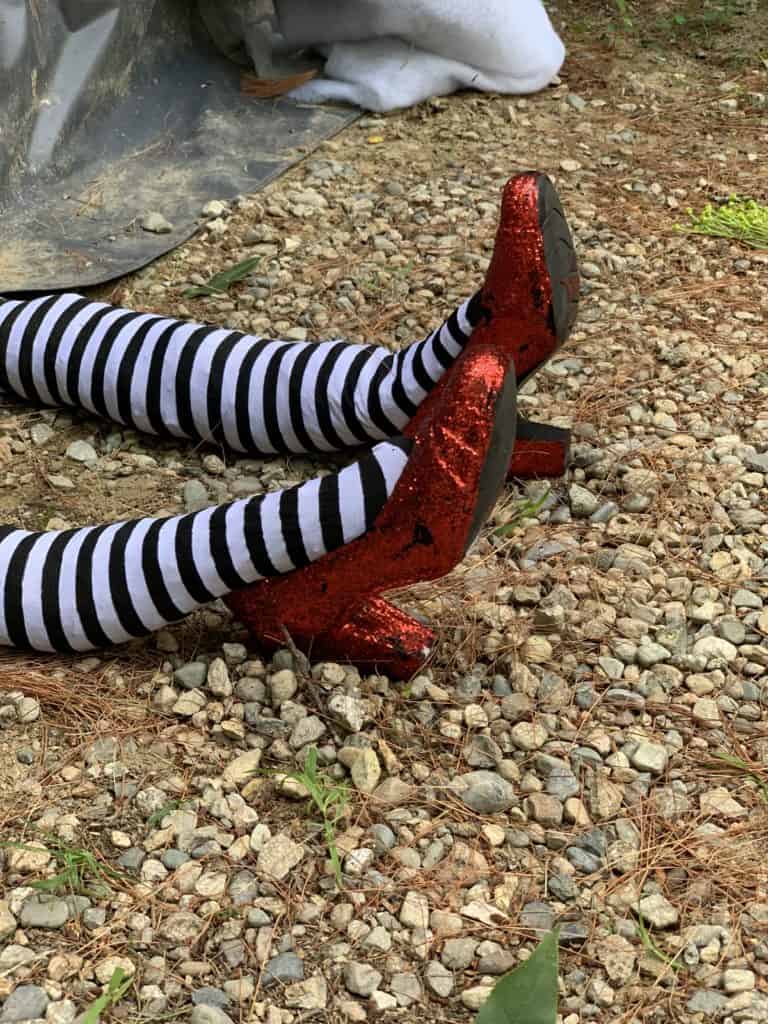
Next we made a storm cellar from a cardboard box and left over vinyl flooring planks. Then finished it off with Dorothy’s house on top of the witch which was our camper’s screen house decked out with faux shutters and the witch’s legs and shoes.




Munchkin Land
Next up was Munchkin land which we created by building a 7′ wall made out of cardboard boxes and pink insulation board. We painted this wall to look like Munchkin land with lots of little houses and of course the yellow brick road.

We also made large lollipops out of the bouncy balls that we used for our Christmas ornaments from Christmas in July. All I did was duct tape the balls to the top of pool noodles then slid them down onto a dowels we shoved into the ground. You can see one on the left side of the Munchin land photo.
I purchased large paper pinwheels that I taped to dowels to make more lollipops. We used all of these to line the entryway into our site. (This was a good idea because at the begging of trick or treat we had a huge line of people waiting to get in!)

As you leave Munchkin land it leads you to the beginning of our wooded trail which we made into the yellow brick road. It starts off with a sign that points to all of the destinations we had… Munchkin land, Emerald City, the haunted forest, the witch’s castle and the poppy field.

The Yellow Brick Road
When you enter the yellow brick road you walk under our rainbow. We made this rainbow using rainbow colored tulle that we attached to wire and hung from the tree branches.


We made the yellow brick road using yellow landscaping spray paint. First, we lined the path with yellow lines to boarder the road. Then I made a template of bricks out of cardboard and painted some yellow bricks every so many feet throughout the path. (update: I wasn’t sure how this paint would hold up in the dirt throughout the night with people walking all over it. Well, it down-poured right before our trick-or-treat and it’s been a week since then and it’s still there!) Crazy!
The Scarecrow
The first stop on the yellow brick road was of course the scarecrow. We made him out of clothing and boots we purchased at a thrift store. We stuffed him with pine needles from the path we raked. Then we topped him off with a scarecrow mask and hat I purchased on Amazon. We added wire inside his shirt so his arms would reach out then we hung him from the sewer vent pipe. LOL That thing turned out to be good for something!


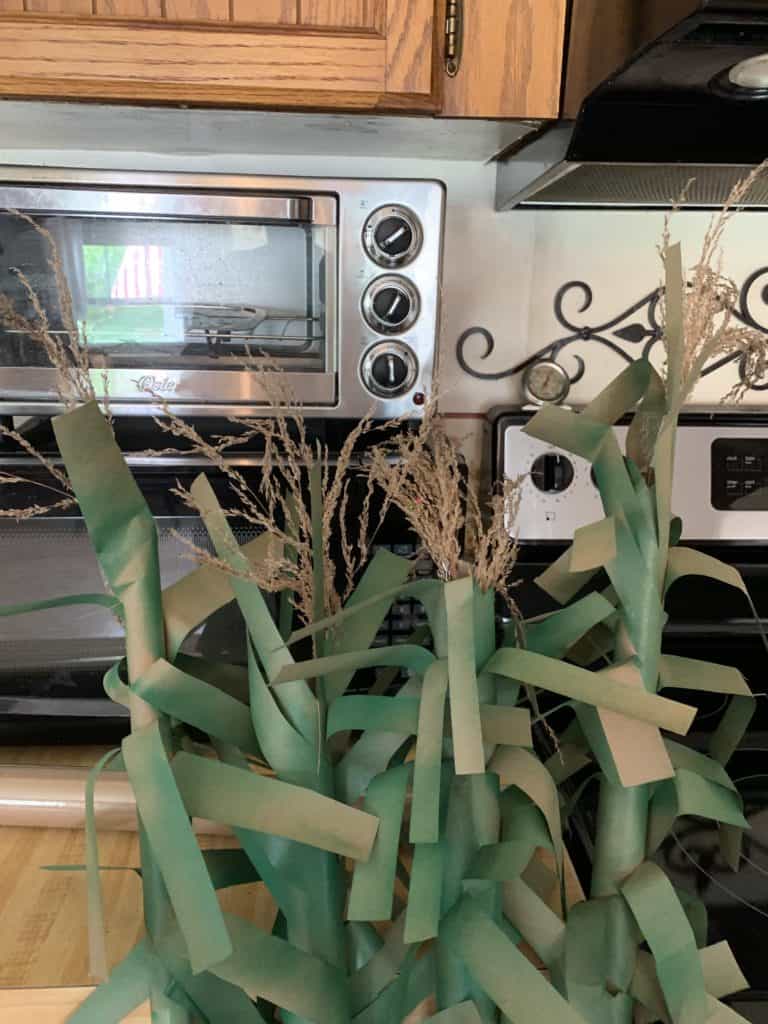
We used our handmade Halloween black fence around him. (I love to re-purpose.) Then I made corn stalks out of craft paper, green spray paint, and some dried flowers that I glued to the top. We slid them over some S’mores sticks to make them stand. They looked so real. Now we have our scarecrow in a corn field just like in the movie.



The Haunted Forest
Next up on the yellow brick road was the haunted forest which we named the angry orchard.
We made apples out of red ball pit balls. All I did was cut some leaves out of card stock with my Cricut and glue them to the balls with hot glue. We hung them from the trees with clear fishing string and they looked just like apples.
We also added some scary blinking eyes (from my Halloween stash) and that made the forest look angry.


Want more camping celebration ideas? Read my post “Christmas in July Campground style“
The Tin Man
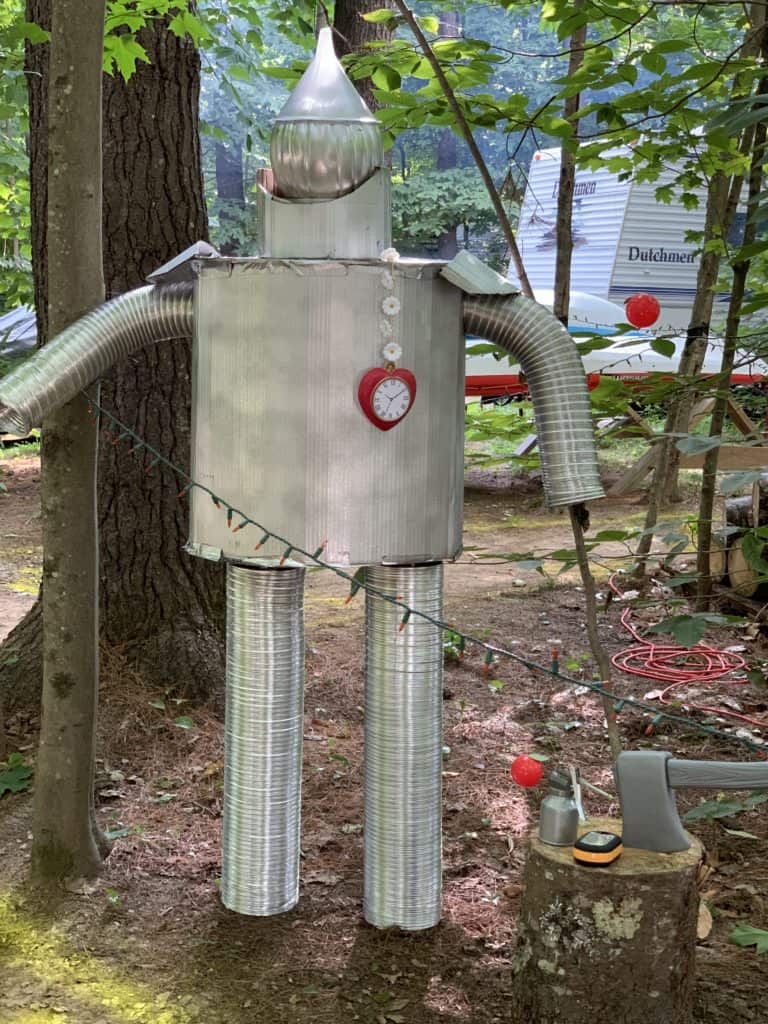
Of course you can’t forget the tin man! I made Mr. Tin Man out of a large cardboard box and some aluminum dryer venting. His head was a faux pumpkin and of course his oil funnel hat topped him off. I then painted the whole thing with gray metallic spray paint. For finishing touches he had his heart, oil can and an ax that we stuck into a real log.

The Cowardly Lion
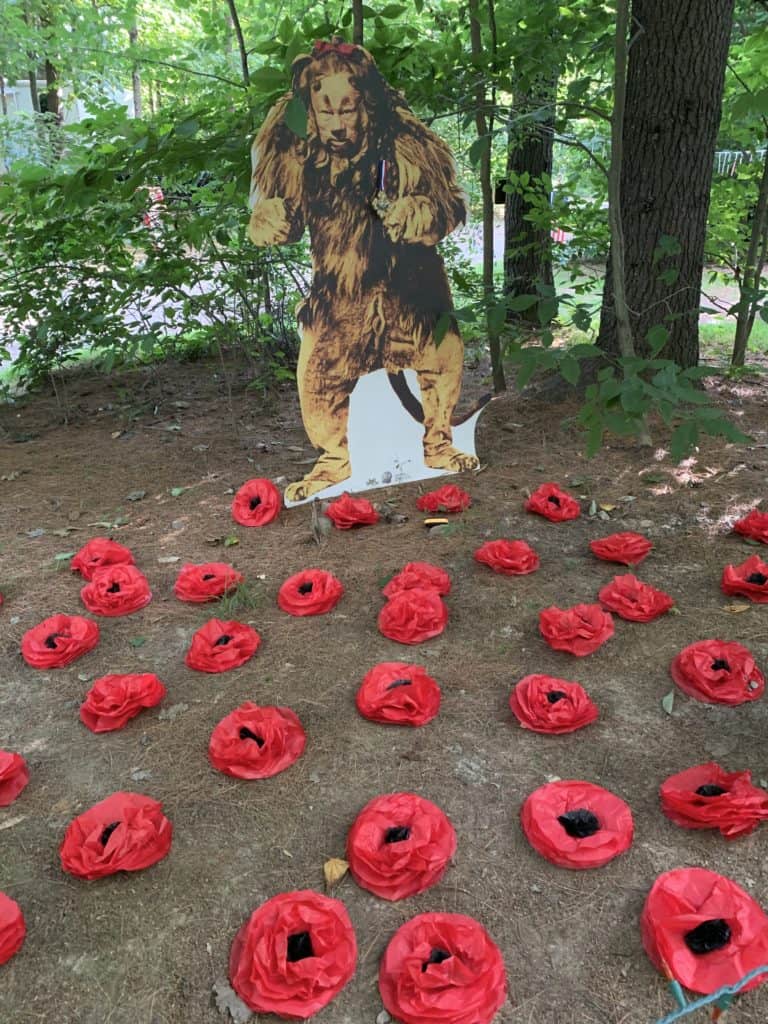
The cowardly lion was tough. I couldn’t figure out how I was going to make a lion and I didn’t want to buy a lion costume for one night. So, I decided to purchase a life size cardboard cutout of the lion instead.
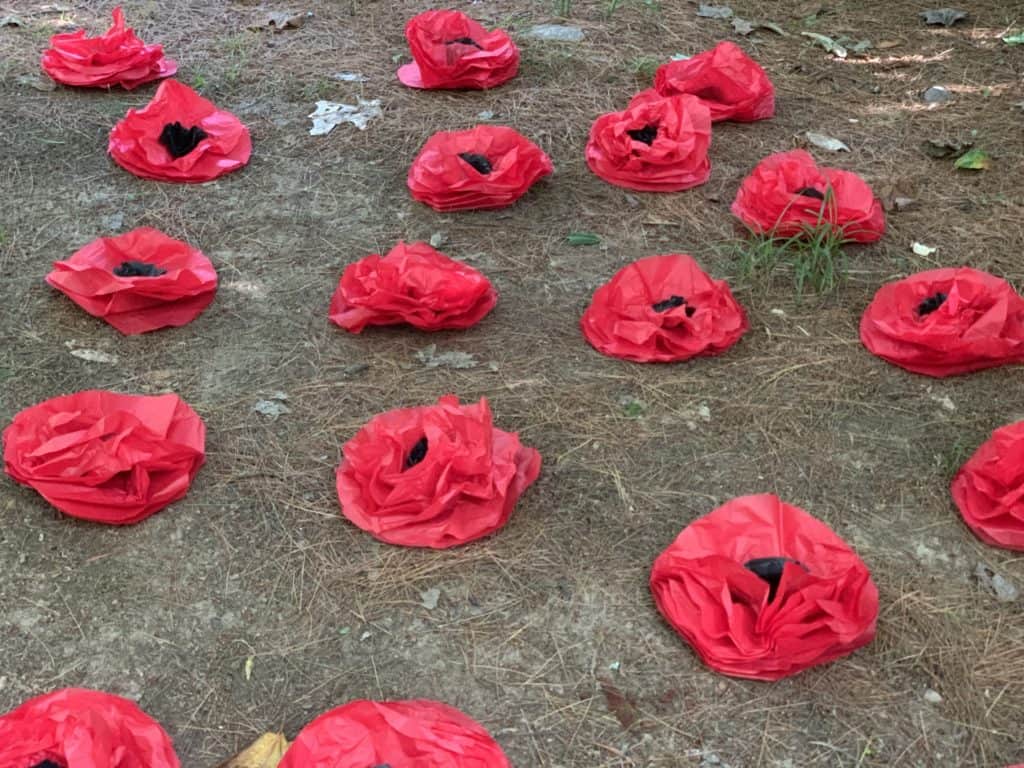
We stood him up in our homemade poppy field. My granddaughter and I made the poppy flowers with red and black tissue paper and threw them all around the lion. I always enjoy my time with my granddaughter doing craft projects. She loves it just as much as I do.


The Wicked Witch
The last part of our yellow brick road was the witch’s castle. We replicated the melting witch by throwing my old witch’s costume on the ground and putting her hat on top. We then tipped over a metal bucket and threw her broom next to her. Instant melted witch.

Emerald City
When you reach the end of the trail you are now in our actual campsite which we made into the Emerald city. I painted the opposite side of the munchkin wall as the gates of OZ. And the gates actually opened to let out the crowd!


We also played the movie “The Wizard of Oz” on the side of the camper with our projector and a large speaker.


We served Poppy Field Punch (pre-mixed Bahama Mama) and Emerald City Punch (pre-mixed Mojito) to the adults. Then we gave out “Somewhere over the rainbow” treat bags to the kids. My granddaughter was in charge of handing out candy, at her table, that she decorated herself. She even made her own tornado hanging from the tree.


We really enjoy the whole process of making this Halloween camping celebration a success. From the morning craft, the hayride, costume parade, and trick-or-treat to designing the whole layout, building the props, and installing everything, to seeing the excitement on all the camper’s faces. I wouldn’t trade it for the world.

You might like this…
If you’re looking for some other Halloween themes then check out my post “Nightmare Before Christmas Outdoor DIY Props.” From there you will see even more great Halloween themes to recreate!
Photos from around the campground
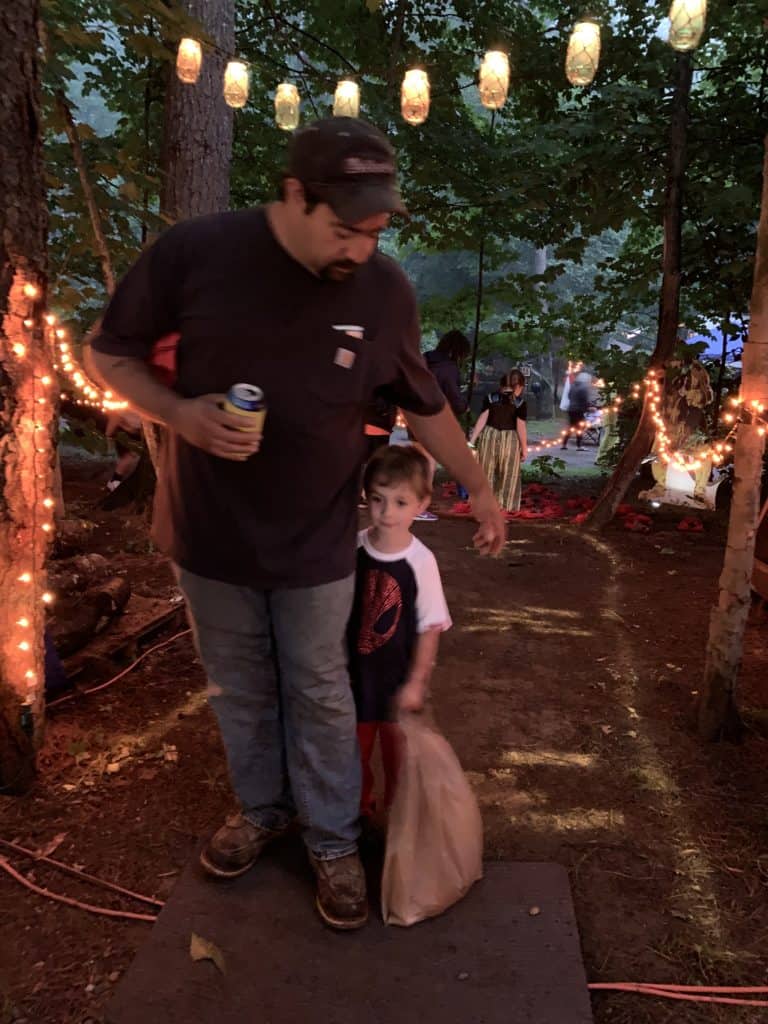
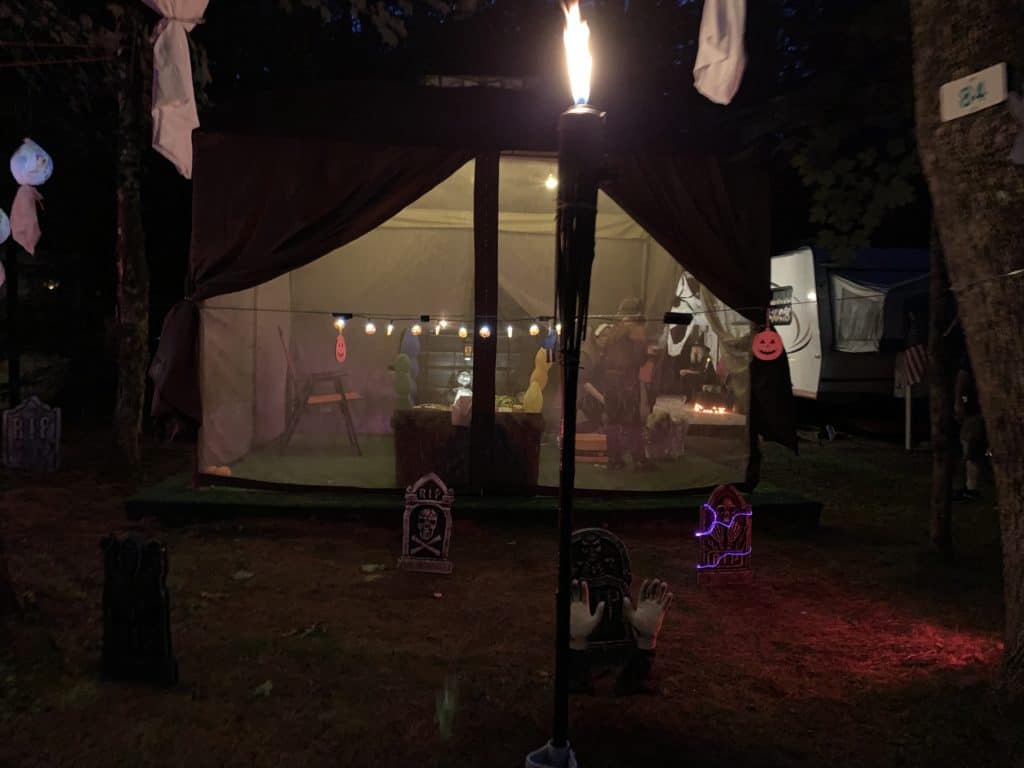
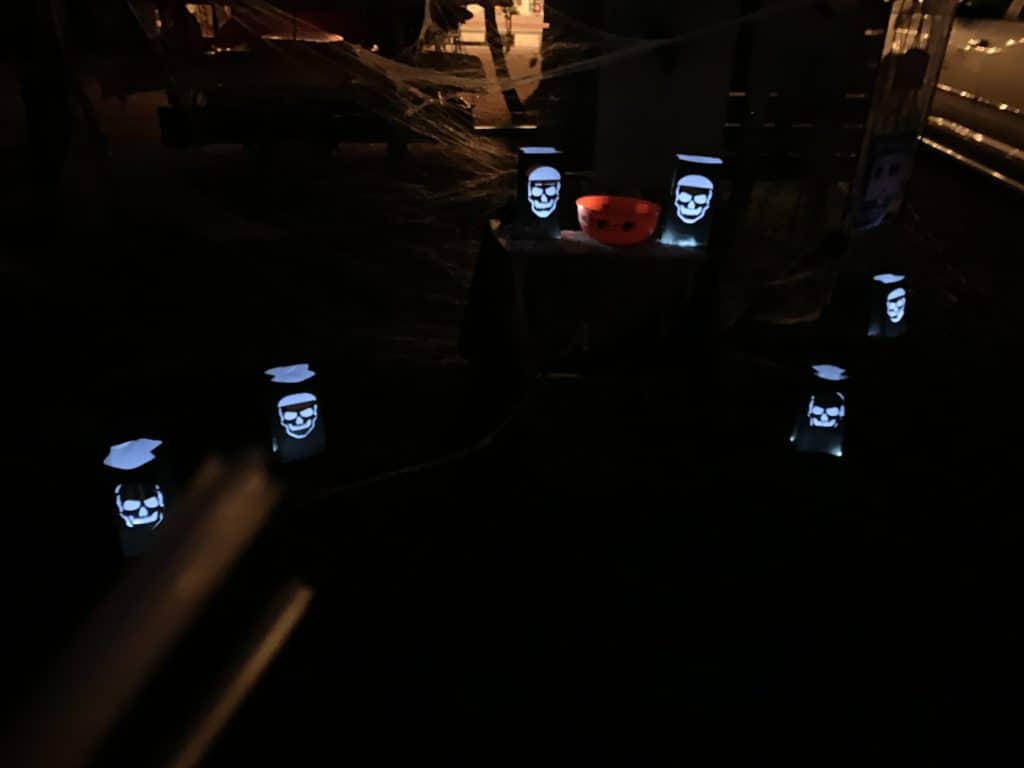
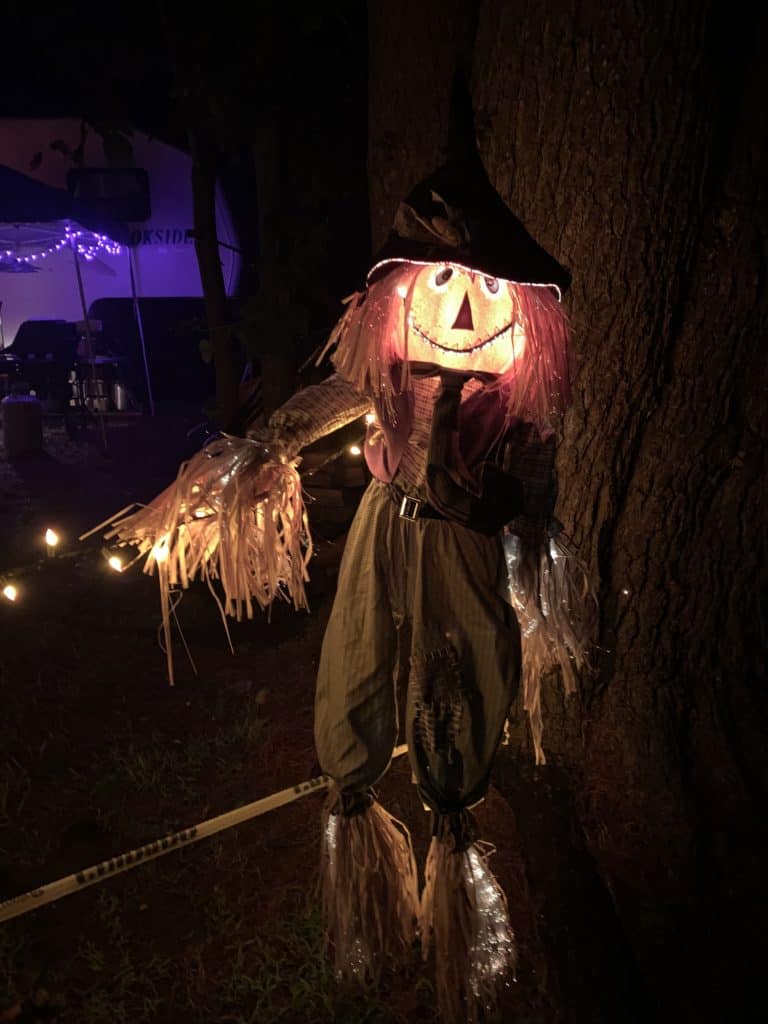
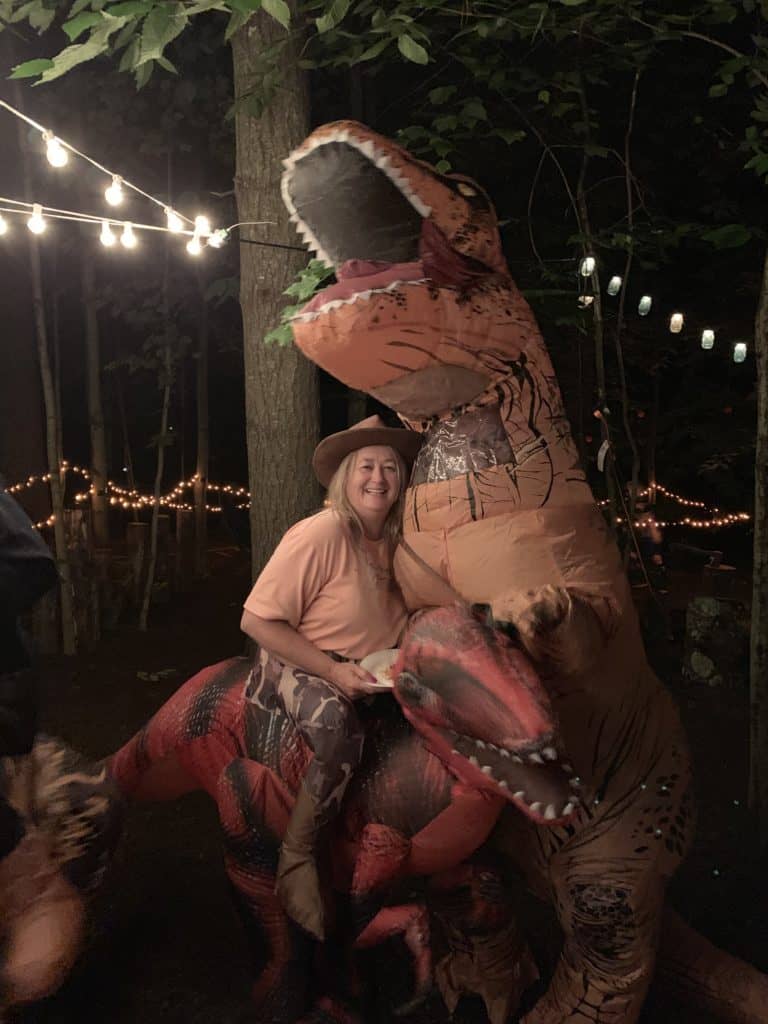
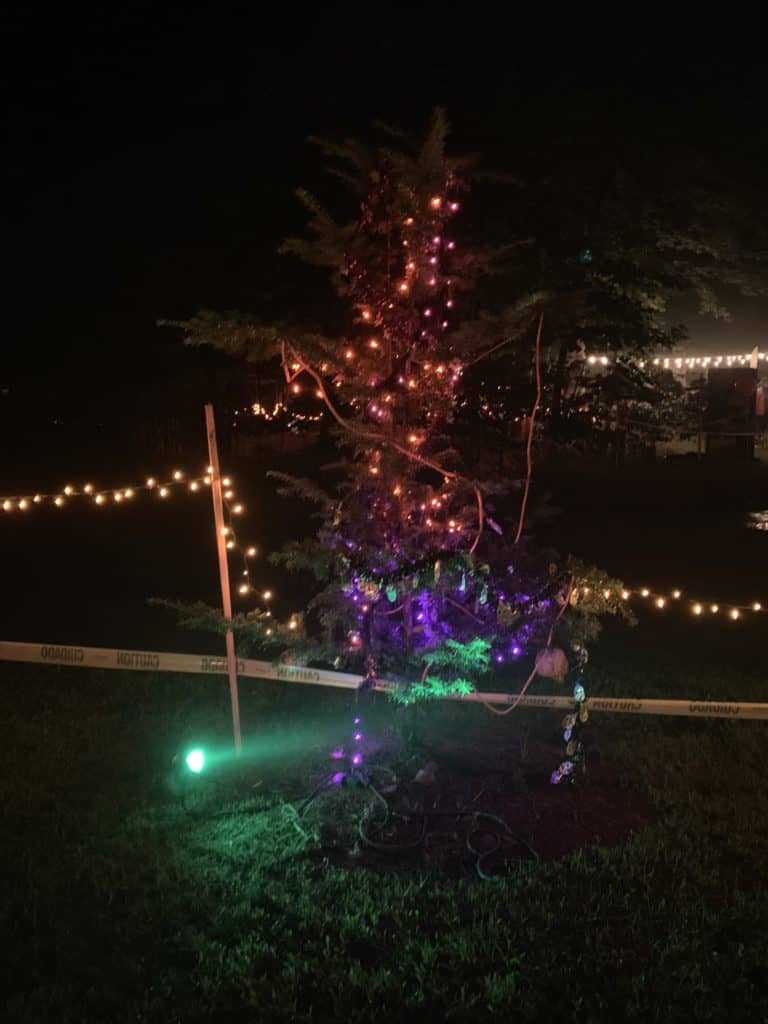
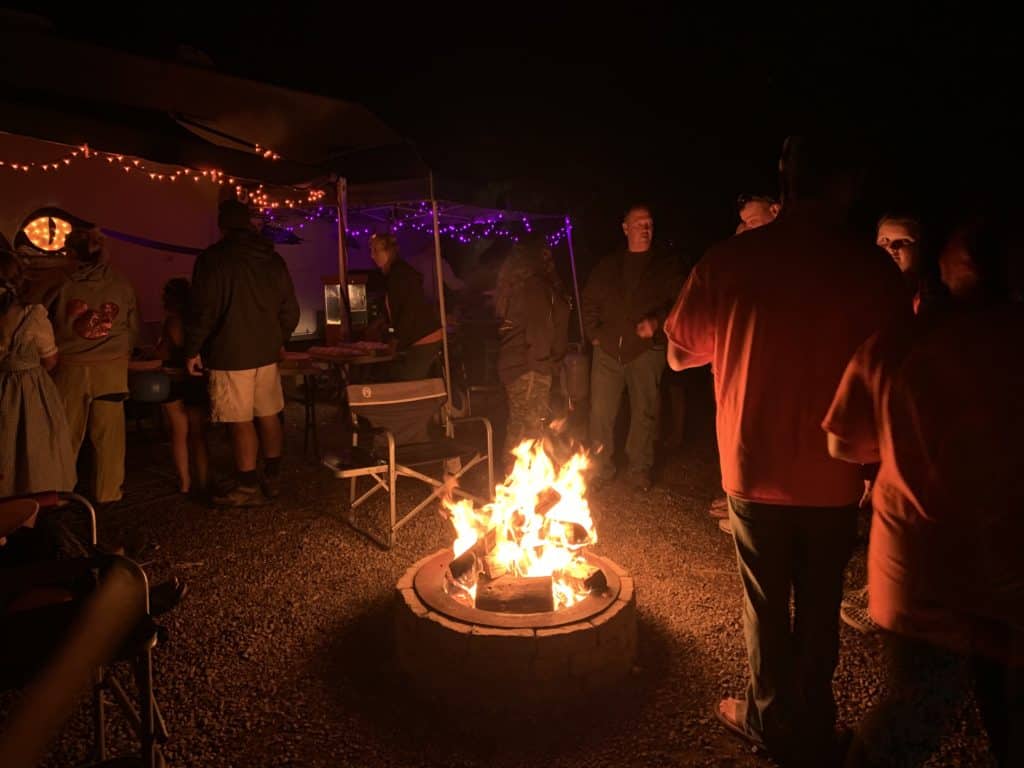
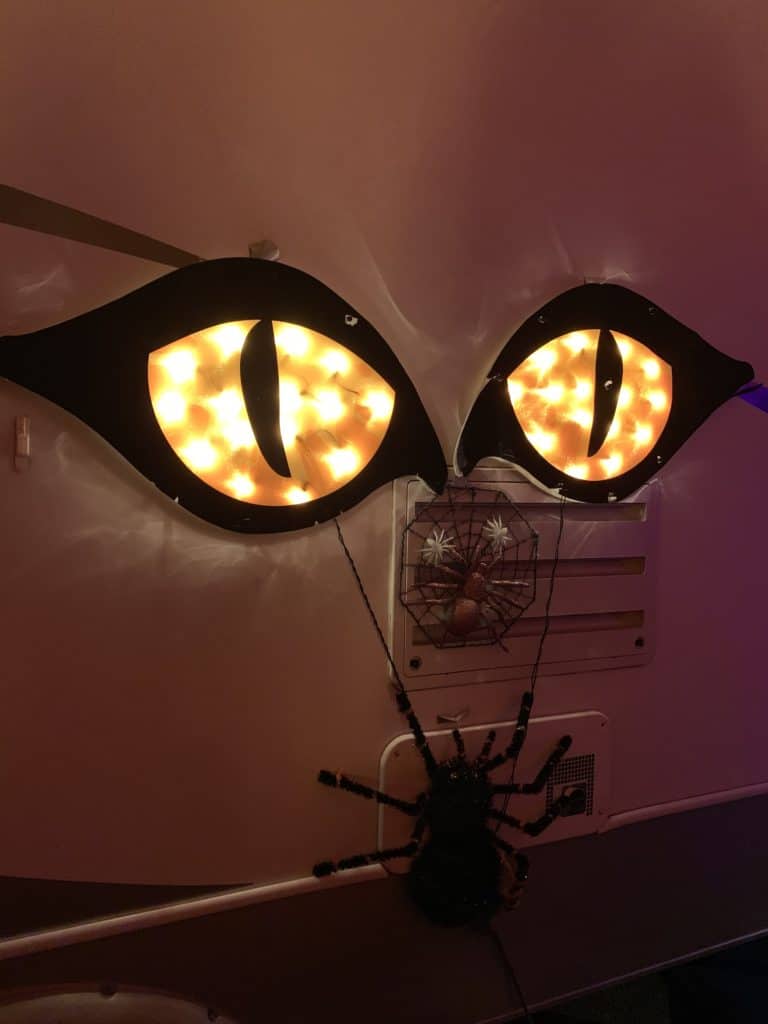
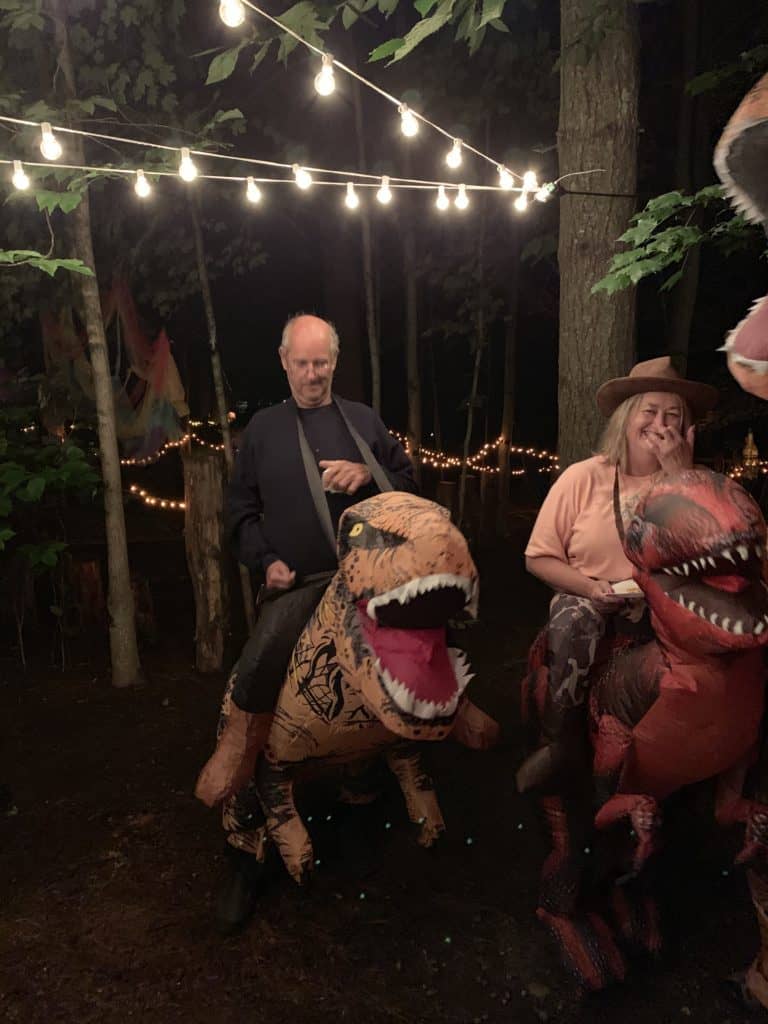
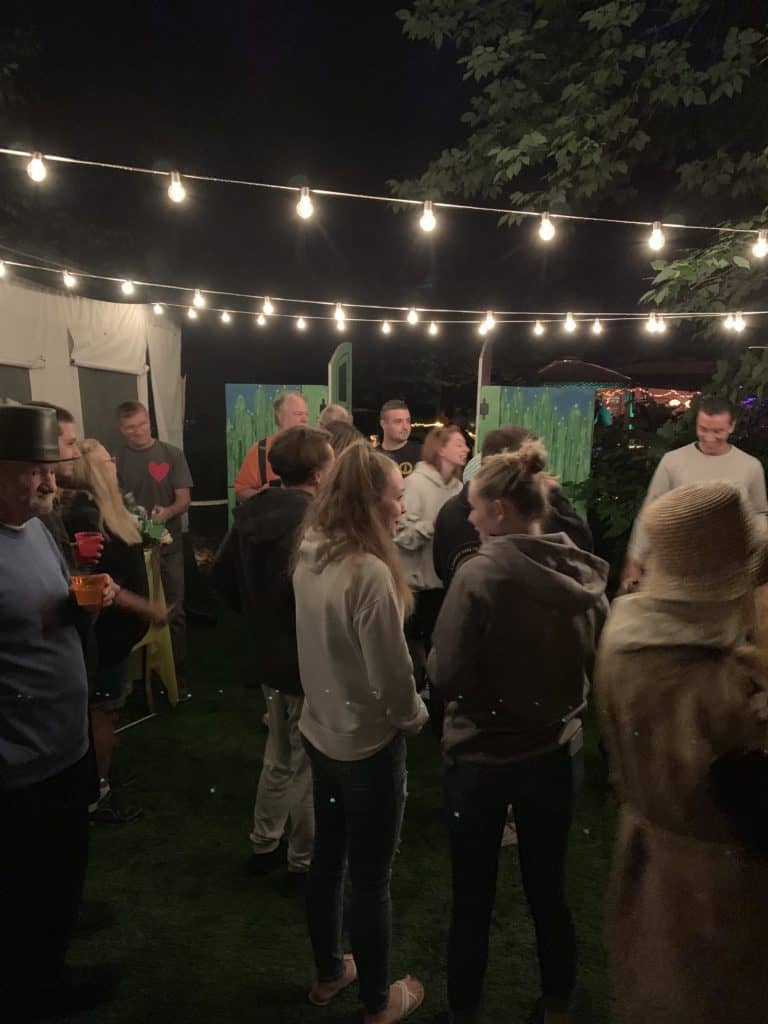
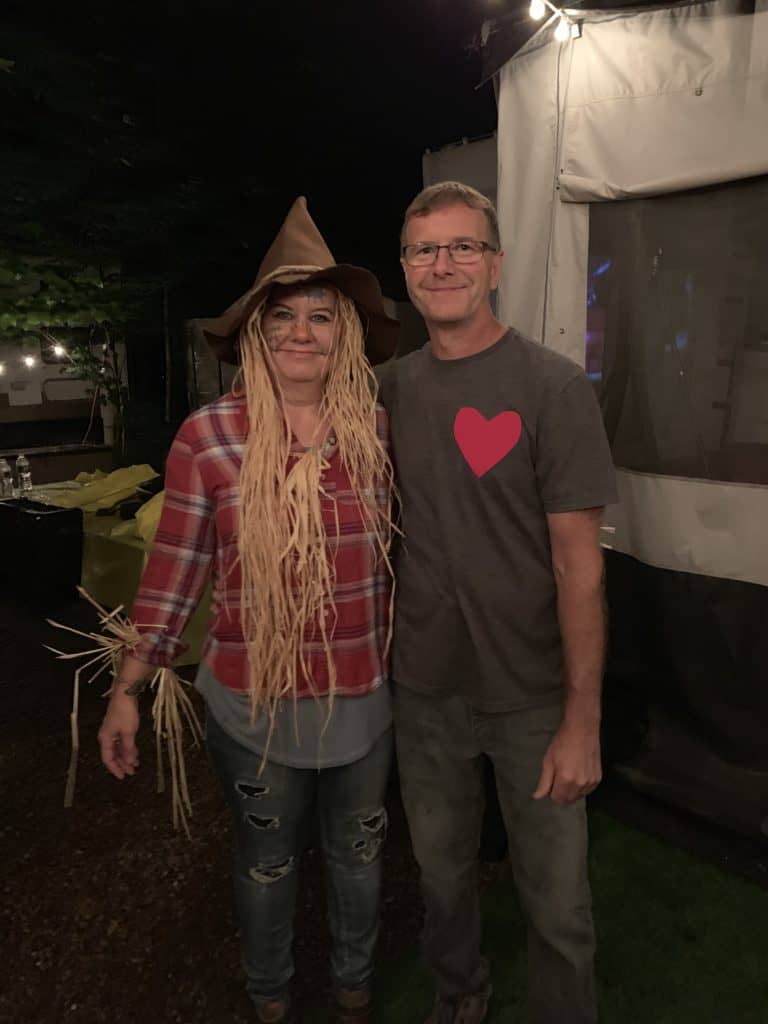
Now here are some photos of some other decorated campsites and some fun moments of the night. Thank you to everyone who participated. We couldn’t make this day a success with out you.












Special Thanks…
I would like to send a special shout out to a few people who made this day extra special…
To Dolly, Ron and family for their over the top “Pemi-Park” site decorating. Your Jurassic Park theme was incredible and the kids just loved it! And so did I!

To our neighbors for their annual fried dough. The kids just love it and look forward to it every year! Thank you for always thinking of them.
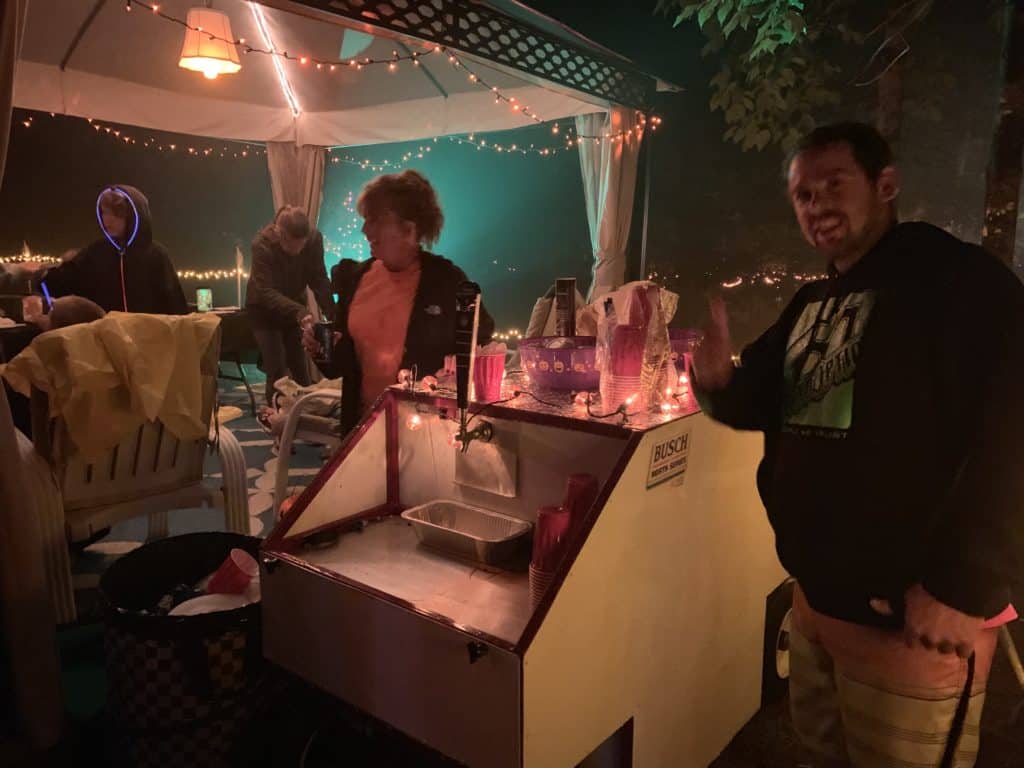
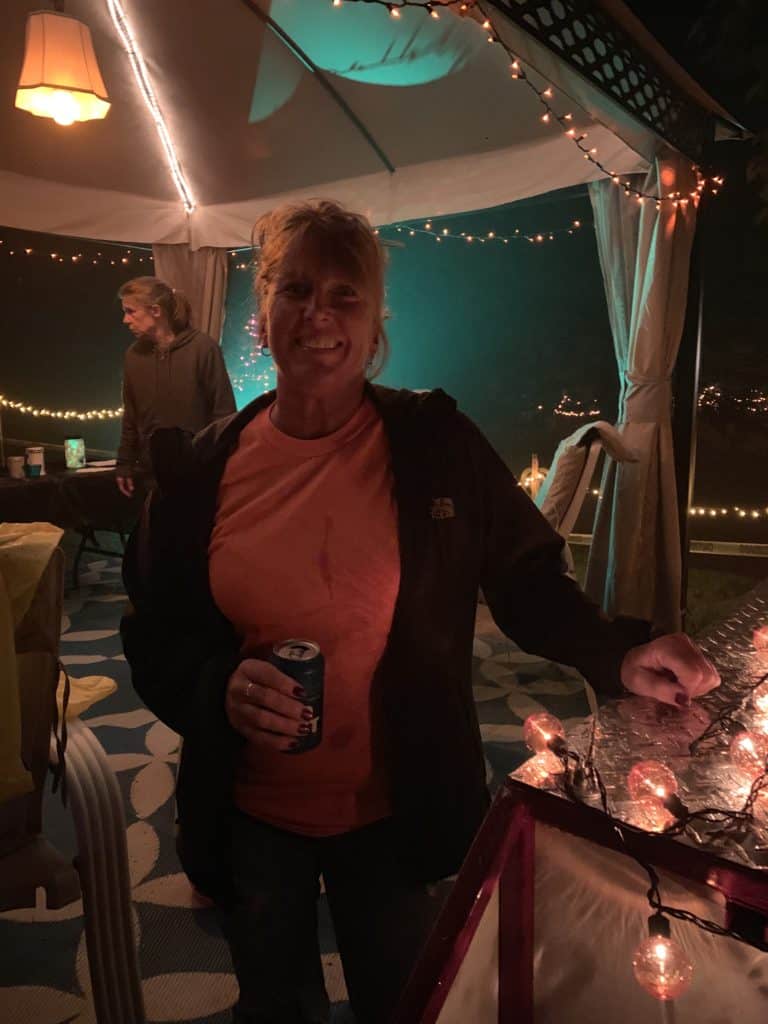

Thank you to our site decorating winner this year with their traditional Halloween themed site. Congratulations and thank you for your participation!
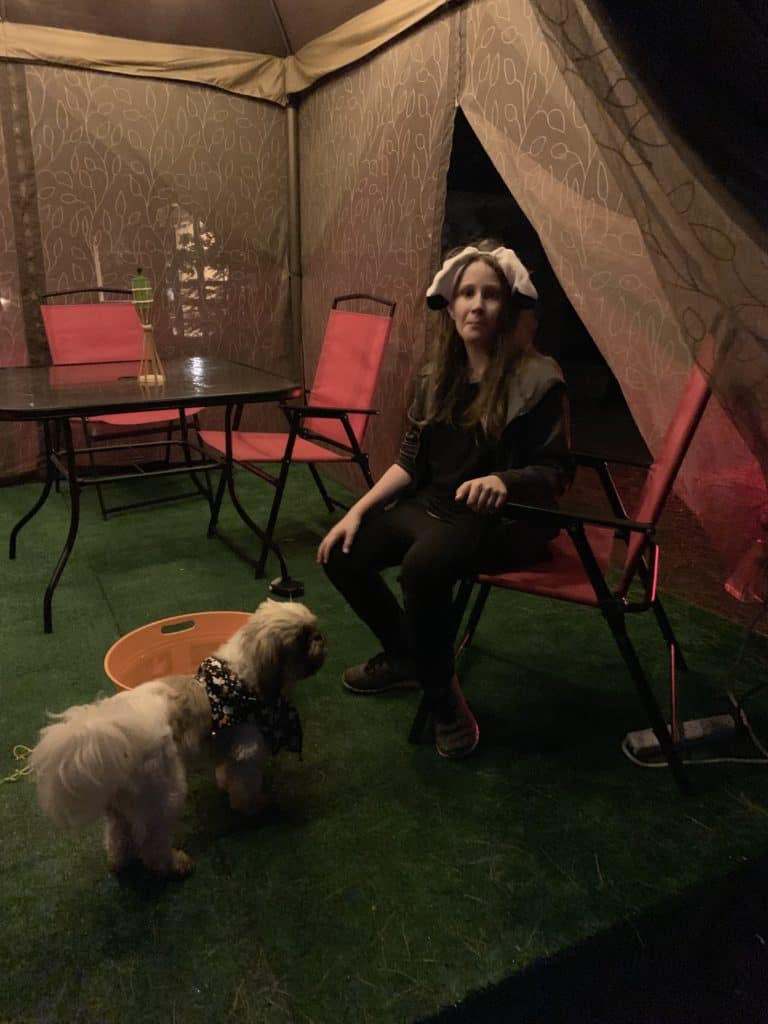
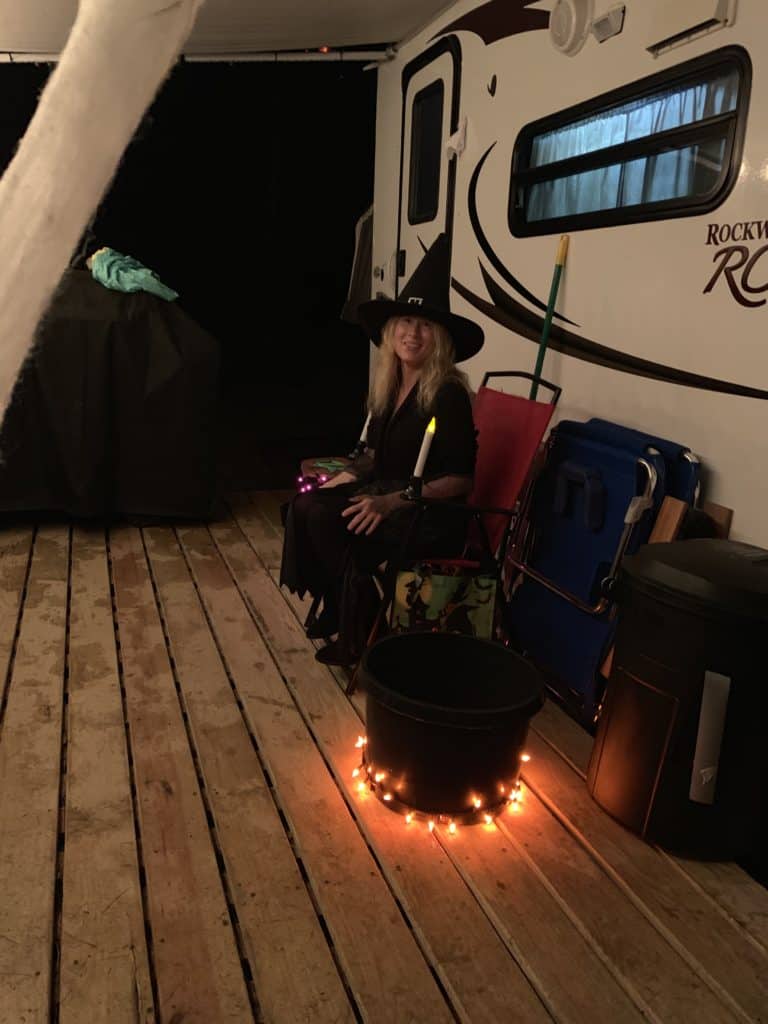
To Jerry (campground owner) for allowing me to “do my thing”. To Jay and Brandon (employees of campground) for giving the kids the best hayride ever. And to Don (security guard) for allowing me to dress him and his golf cart into crazy costumes, and for leading the costume parade.
And lastly, to my family, especially my granddaughter, Addison (aka Dorothy). Thank you for all your time and energy helping me design and build props, make the treat bags, and most of all for sharing the whole experience with me. I love you so much and I couldn’t have done it without you! And Babe, you’re the best! xoxo






This year was a huge success and I can’t wait to see the creativity everyone brings next year!
More camping posts you may like…


These are great ideas! We love fall camping during Halloween. We enjoy making popcorn balls and bobbing for apples. Sometimes it’s fun to celebrate old-school! Check out Fun Easy Halloween Camping Activities: https://theadventuredetour.com/fun-easy-rv-halloween-camping-activities/
Scott, thank you for your kind words and I did check out your post and your ideas look so fun for a family Halloween RVing. Thanks for sharing. 🙂